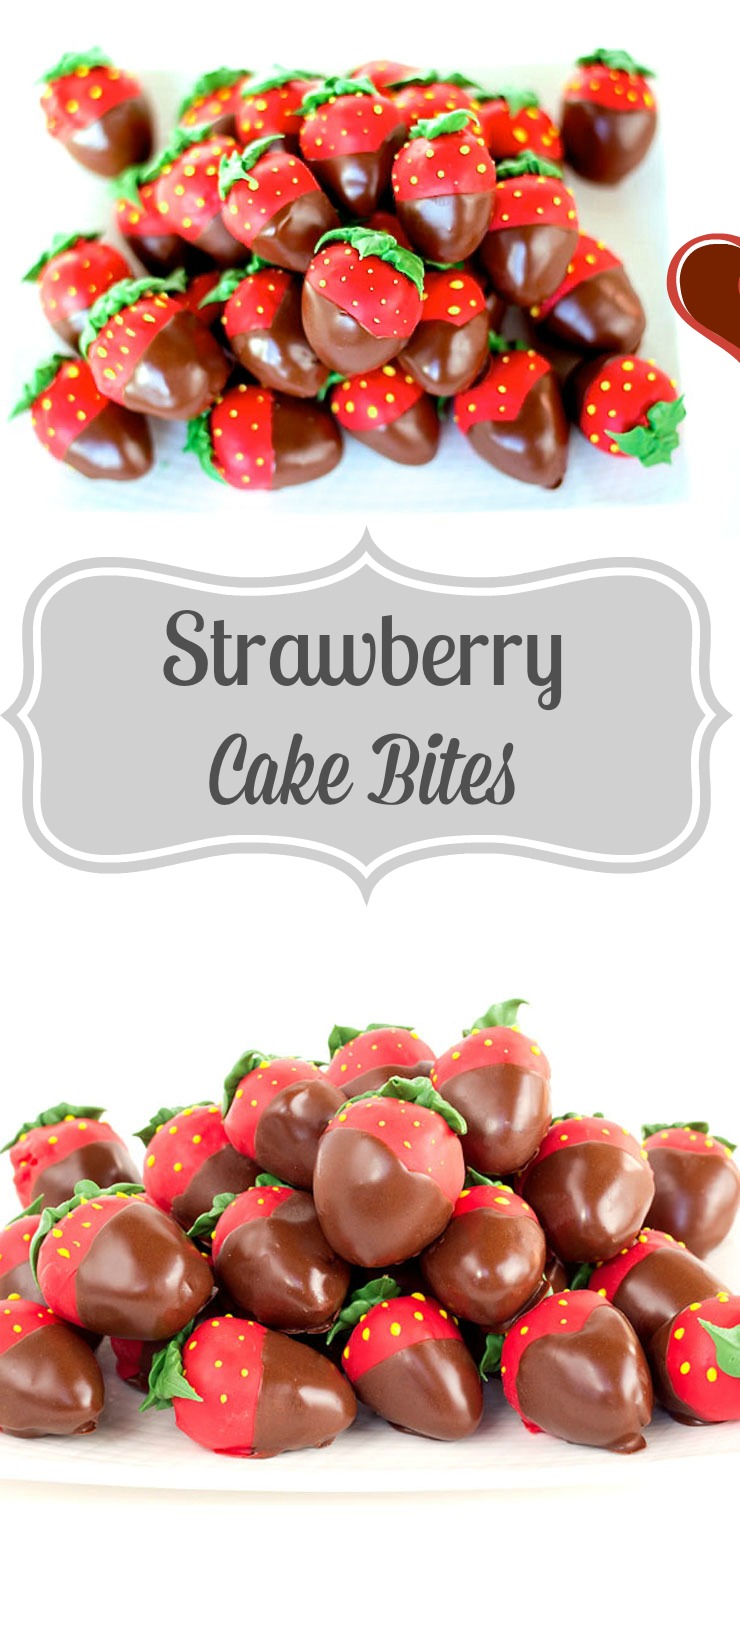
Chocolate Covered Strawberry Cake Bites
I hate to admit it but, these are the first decorative cake pops or bites I have ever made. There. I said it. I have made many round ones and I have been completely satisfied with them but, felt the need to try to be more creative. I had a lot of fun making these chocolate covered strawberry cake bites and I plan on making more designs soon.
 At first glance, you might think these are real strawberries but, they aren’t. The good thing about these is there is still time to make them before Valentine’s Day.
Supplies for Chocolate Covered Strawberry Cake Bites:
Strawberry Cake Mix
Red Candy Melts
Semi Sweet Chocolate Chips
Yellow and Green Outline Royal Icing
Wooden BBQ Skewers for Dipping the Bites Into the Chocolate
Tip #352
Strawberry Frosting
 I used a strawberry cake mix for these. If you want to know how to make cake bites, check out Bakerella. She is the bombdiggity at all things cake pops or cake bites!
- Bake the cake by following the directions on the back of the box.
- When the cake is cool, crumble it into a large bowl.
- Then, add the icing to the cake and gave it a good mix.
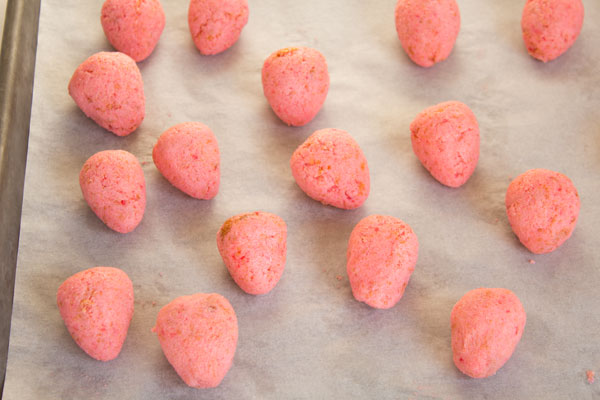
- Now start forming them into strawberry shapes. You might need to chill them if they get sticky.
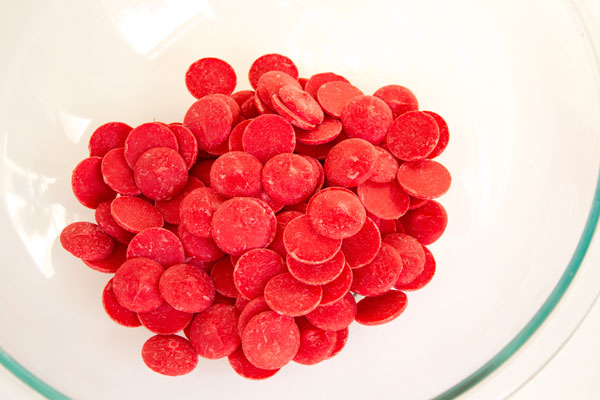 Melt the red candy melts in the microwave like the directions tell you to do.
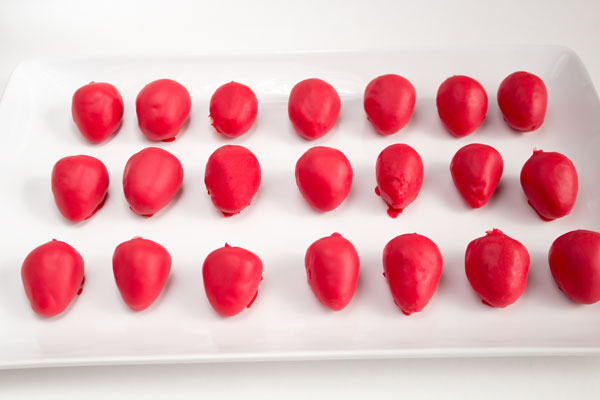 Using the BBQ Skewers, dip the cake bites into the red candy melts. Let them dry for a few minutes.
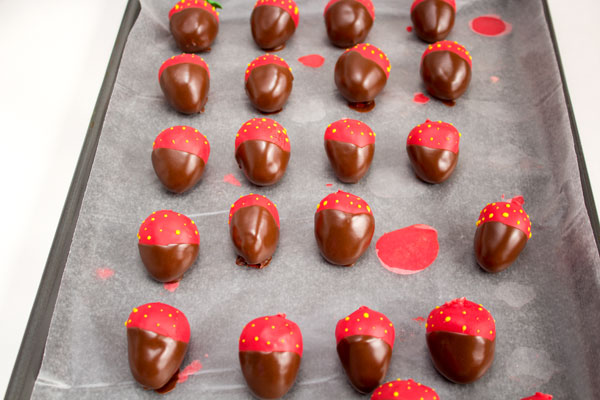 Next, melt the semi-sweet chocolate chips and dip them again. This time, only dip them half way to the top like you would an actual strawberry.
Once they dry a little, use the yellow icing and a toothpick to add little yellow dots to the top.
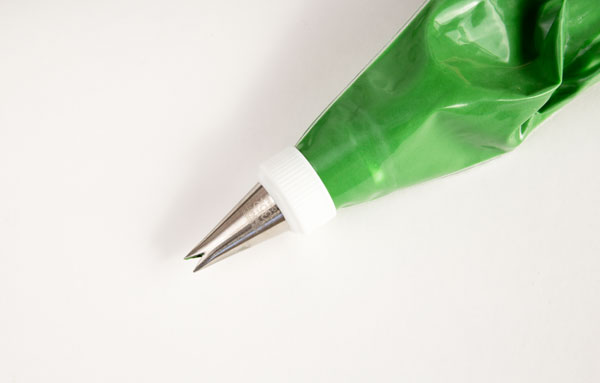 Add cute little leaves to the top with a #352 leaf tip. If you would like to see Sweet Sugar Belle make leaves, click here. She is making holly leaves but it will give you a great visual on how to use this tip.
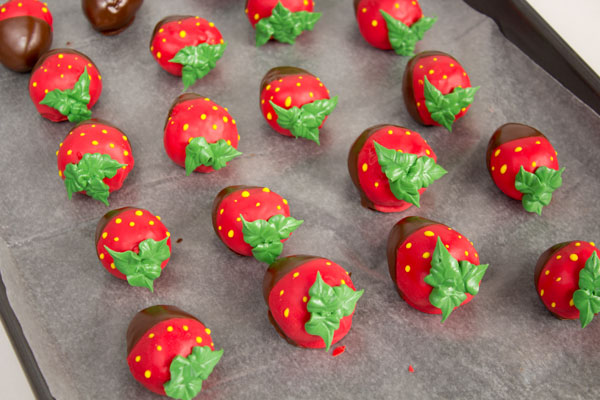 Give them all their cute little caps and let them dry!
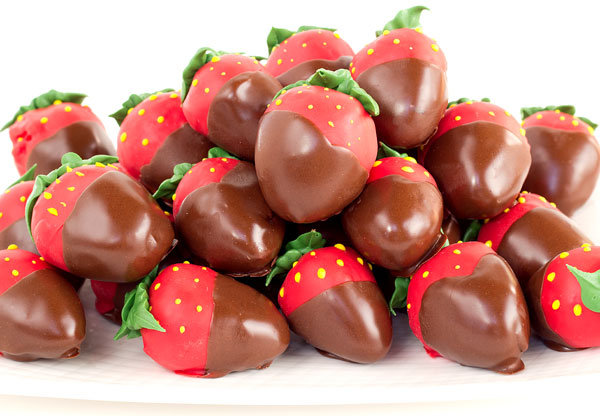 The hardest part about making these chocolate covered strawberry cake bites is deciding who you are going to give them to. I want to share them with everyone I know:) I think it would make them happy!
Linked up at Whipperberry. Check out her great party.
Bear hugs,


Lisa, these strawberries look delicious. Good enough to eat!
Robin
yeah, you fixed the comments!!!! These are just adorable and you can never go wrong with strawberries! Perfect little bites of sweet love for Valentine’s Day. Another winner!
Hugs,
D.J.
LOVE LOVE LOVE these!! Genius! I love cake pops but the sticks get me every time I make them.
I love these! Your piping work on them is great. They look irresistible!
These are utterly adorable and perfect!
For your first try, these are amazing! You could’ve said you’ve been making them for years and I would’ve believed you. Super cute!!
Super adorable, I ALMOST hate to eat them!
I am going to try these this week! Very nice idea Lisa.
What an adorable treats! Love teh colors!
Lisa, thanks so much for this fabulous tutorial. Your instructions made these SO EASY to make! I am taking them a wine club evening tonight and can’t wait to impress all of the participants! I did a blog post about them here (and linked to this tutorial!) http://bakedbyrachel.blogspot.com/2013/03/champagne-cookies-and-strawberries.html
How, oh how, did I never see these!! You just rocked my world! I have to make these for my sister in law! (Miss you miss Lisa!)
Lisa,
I just discovered this and posted it to my Pinterest board. Strawberries are my most favorite fruit! I can eat them anytime, anyway, anywhere! And when you pair them with chocolate… well…then you have my undivided attention!
I’d be more than happy to give you my mailing address if you want to make me happy- lol.
Hahaha! You are adorable! 😉
These are adorable! Thank you so much for posting!
*Squeals* These are so cute. I’m going to add these to my “must-make” list!