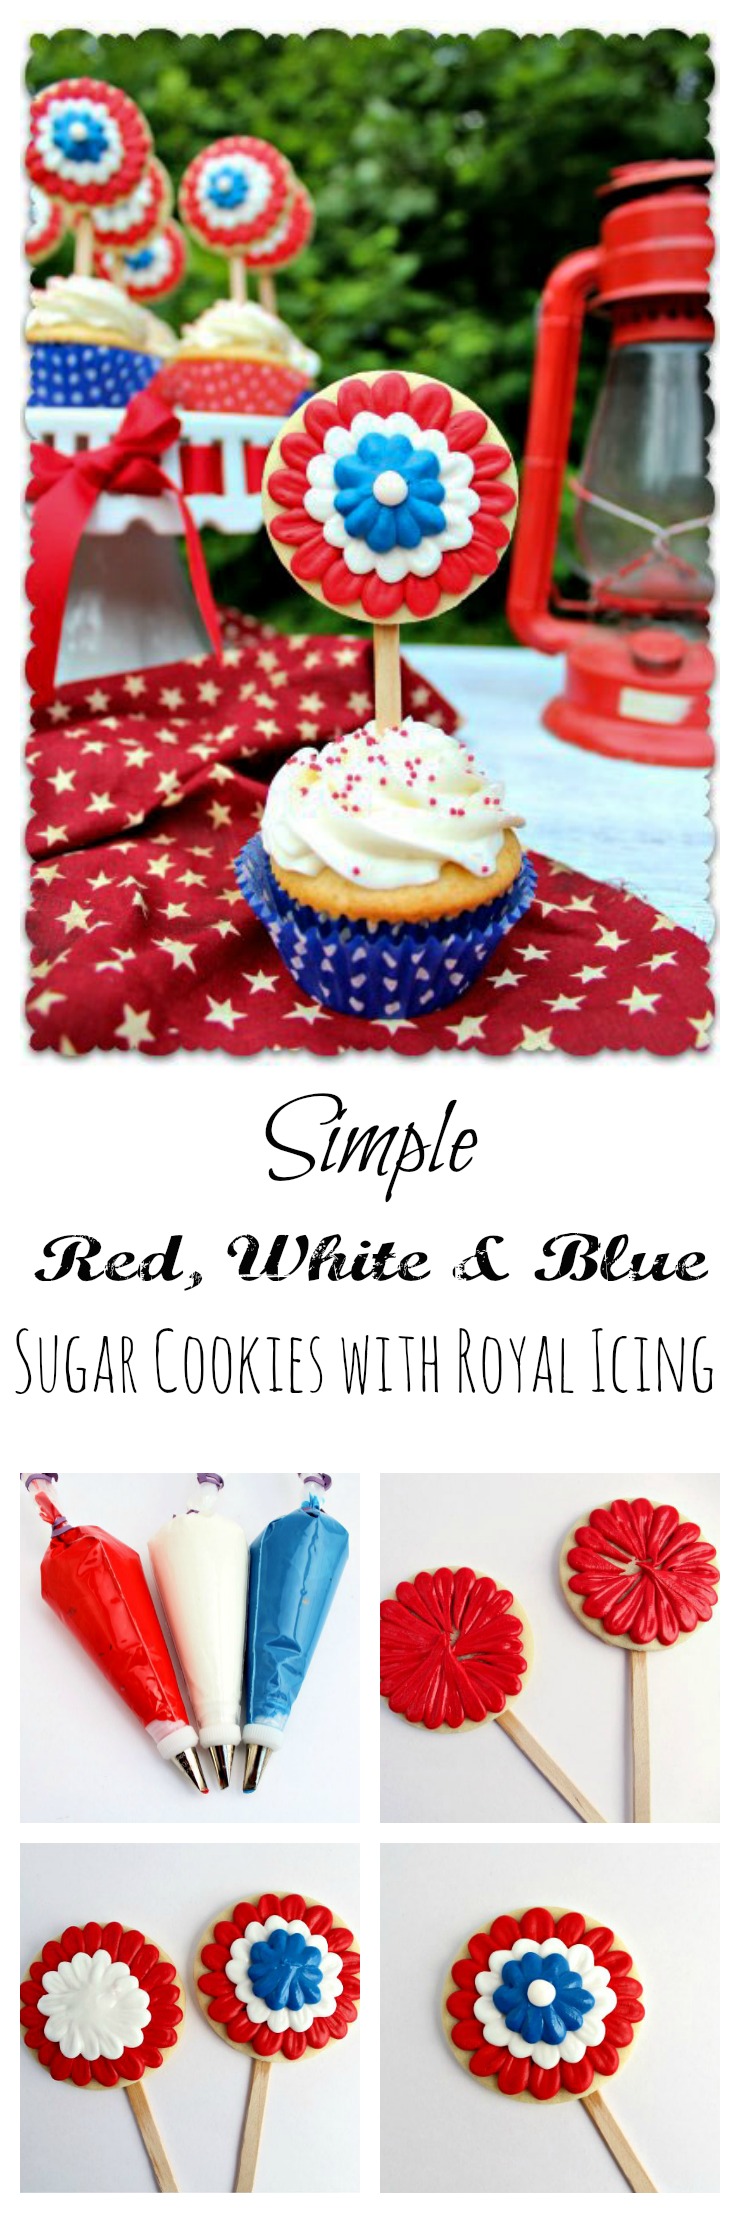
Patriotic Rosette Cookies
This post may contain affiliate links.
 I have a very important job on the 4th of July every year. I am on of the “Official Fireworks Lighters!” (I know that is not a real thing but, let me feel special and important!) Every year at camp we have a 4th of July fireworks show. We set up a table at the lake, play loud music, eat watermelon, and make S’mores and hang out with the most amazing staff EVER! There are only a selected few that get to hold a torch and light the magical wick that fizzles down and makes beautiful lights in the sky. I am one of those people.While everyone is laughing and talking, the chosen ones move to the table that is set up on the opposite side of the lake and fight over the best torch!
Last year, my son Tylor (who is 23) came to help. Well, let’s just say I am glad there was a lake he could jump into because one of my magical boom boxes fell over and I shot him with a very large roman candle thingy. He was ok but missing some leg hair! I never understood why boys have hairy legs anyway.
I am not sure if I am going to get to hold my position as an “Official Fireworks Lighter” or not this year. I think if you shoot someone, the torch is taken away. I am trying to convince my husband that I will be careful and jump in front of any flaming object that is going to hit someone. To show him how much I want to keep my title, I am going to make some patriotic cookies.
 Let’s start off with some circle cookies on a stick. Everything is better on a stick.
 For this project, I used stiff icing. You want it thick enough to hold it’s shape. I made red, white and blue and used 101 and 102 Wilton tips. I prefer the 102 but I only had two of them.
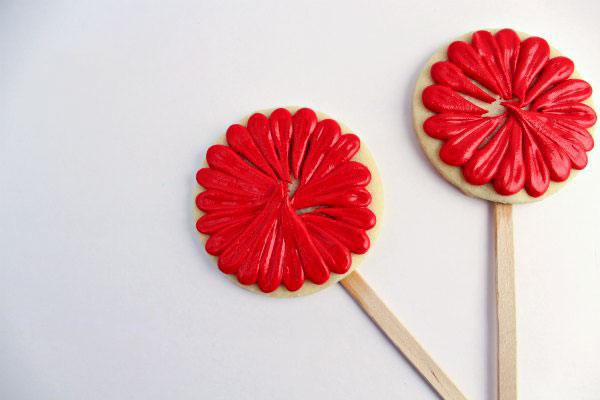 Now, with your thick red icing, hold the fat side of the rose tip away from you. Hold it slightly above the cookie and apply a little pressure and let the icing build up a little without moving the tip.
Then, gradually begin to pull the bag toward you as you continue to apply pressure. As you get close to the center of the cookie, gently decrease the pressure until you reach the edge. This is the same technique I used to make my Daisy Cookies. Now let these dry for several hours.
 Repeat the sames steps with the white and blue icing. Allow drying time between each color.
 Next, add a white dot to the center of the blue and you are all done! Wait, I want to show you something!
 I have a new favorite cup. Look at those cute little cups with ice cream in them! They are called Brioche Baking cups and they are great for ice cream! They can hold one scoop of ice cream perfectly. I got them and the cupcake liners from Bakers Stock just in case you are looking for some pretty cup cake liners.
I will let you know this week if I get to help with the fireworks or if I have lost my torch! I think that could be some kind of new reality TV show! “Lisa, Pleas turn in your torch!” I think I will go eat a cookie now.
Happy Creating,

What a great idea. I love these. I have a 4th of July wedding to make cookies for. I will have to share this idea with the bride and groom. They love turtles too so we are trying to combine the two. Maybe this could be the back of the turtle. Thank you for this great turtorial 🙂
These are so pretty lisa!!
Thanks Vicki!!!
I definitely think you should keep your torch title. One mistake is not enough to have to forfeit it. ♥♥
Love these cookies. They are so pretty…..and your outside photo is exceptional.
And I love you, dear friend. 🙂
I will tell Alan you vote on me keeping my title and torch! LOL I can’t wait to see you friend! NOVEMBER BABY!!!!!
These are just darling, Lisa! I just have to get brave and try some cookies on the sticks and of course decorate like this! Time to play! Thanks for all that you share with us..
Blessings, Donna B.
When you do Donna, show me the pictures! I love cookies on a stick!
So cute and simple! My coutry’s flag has only two colors, hard to adjust this to it 🙁
What country are yo from?
Poland, we have white and red 🙂
I love these!!!
Thanks Anne!
Very cute! They look great with the cupcakes 🙂
Thanks Jennifer:) You make some amazing cookies my friend:)
Oh my gosh – you made my day 🙂 Thank you!
I just love these! The colors just pop. 🙂 My son recently now has “man” hair on the legs and I don’t understand it either.
I think they should shave their legs!! It is only fair!!
Amazing pics, Lisa! I lovelovelove the COOKIES! I think you should hold the torch and help everyone get rid of leg hair! Can I come over and have a S’More?
Yes Bea!! Come have S’mores with me! I will show you how to make them in the microwave at CookieCon! They are SO GOOD!! Can’t wait to see you my friend!
They look perfect! I love that top photo! I hope you get to keep your title and your job on the 4th:) Glad your son was o.k.!
Thanks Sue! Tylor was fine! I was scared and screaming but everything was so loud he couldn’t hear me! Then, he ran into the lake and came out laughing!
I think you catching Tylor on fire will be one of those stories that goes down in camp history 🙂 I love the cookies!
I am sure it will be discussed around the campfire this year while we make the S’mores! It is right up there with the great question, “Do I want to die getting bit by a rattlesnake or mauled by a bear?” Yes it really happened. LOL
PS- You are SO INVITED to the fireworks show:)
If it’s on the 4th, I’m coming to work that week so I’ll be there!!
Please…only wield a piping bag, nothing with fire, if you don’t mind.
LOVE these cookies…..so adorable.
I am a bit of a pyromaniac at heart Gail! I really want to keep my torch!! I promise you I will be careful!! LOL
How gorgeous are these!! Love them! And amazingly beautiful photos too!!
Awe! Thanks Glory! The new camera is really nice. I am learning how to use it and hopefully will be half as good as you are one day:)
I have a feeling I’m going to be hoping to be as good as YOU very soon!!!
Wow, this really should be in a Martha Stewart Magazine – awesome!!
Yeah RIGHT!! LOL You always make me laugh!!
And…I think your job has a grandfather clause in it somewhere, you never can be fired!
I like the grandfather clause!! I am going to tell Alan right now! LOL
I love these, and I MISS YOUR FACE. Or text, whatever, but you know what I mean!
I needed your watermelon cookies to go with these!! LOL I will try to text today because life is not fun without your face;)
beyond adorable Miss Lisa!!! I do believe I will be making these and handing them out to munchkins this year!!! Thanks for the great tutorial, off to dig out my petal tips!!
Hi Lisa,
These cookies are beautiful!! Thanks for another great tutorial. I actually just bought 2 different petal tips this last month but haven’t tried them yet. This would be a great cookie to start with! I do have one question- how did you put the cookie on the stick? Did you put the sticks on before or after you bake the cookies? (I guess that’s really 2 questions… :P) Thanks!
Hi Audrey, I cut out my cookies and placed the uncooked cookie on the stick on the baking sheet. As the cookie bakes, it attaches to the stick.
I love these cookies and I think you are pretty brave to be the official fireworks lighter on July 4th. Braver than I am at least 🙂
I think I might get to keep the torch! Dear Hubby grinned and winked at me today when I asked him who was going to “Light up the Sky!” I will let you know:)
Hi there! I just wanted to let you know I featured you in my Fourth of July Round up. Stop by and check it out and snag a featured button.
Danielle @ Blissful and Domestic
http://www.blissfulanddomestic.com
What an HONOR!!! I am on my way to check it out now:) THANKS!!!