How to Make Cute Little Royal Icing Carrots
Are you ready for spring? I kind of feel like we haven’t had much of a winter this year, but I’m so ready to go outside and enjoy the spring weather. Who knows, I might plant a garden this year, but until then I’ll make some royal icing carrots for my cookies. There are three free patterns below so you can make some with me. Let’s get started.
How to Make Cute Little Royal Icing Carrots Video:
Enjoy the video!
How to Make Cute Little Royal Icing Carrots Video:
(may contain affiliate links)
Recipes:
Royal Icing Colors:
- Orange- 15-Second Royal Icing and a Thicker Piping Royal Icing
- Thick Green Royal Icing- It should be thick enough to hold it’s shape when it’s piped.
Templates:
- Small Carrot Royal Icing Transfer Templates
- Medium Carrot Royal Icing Transfer Templates
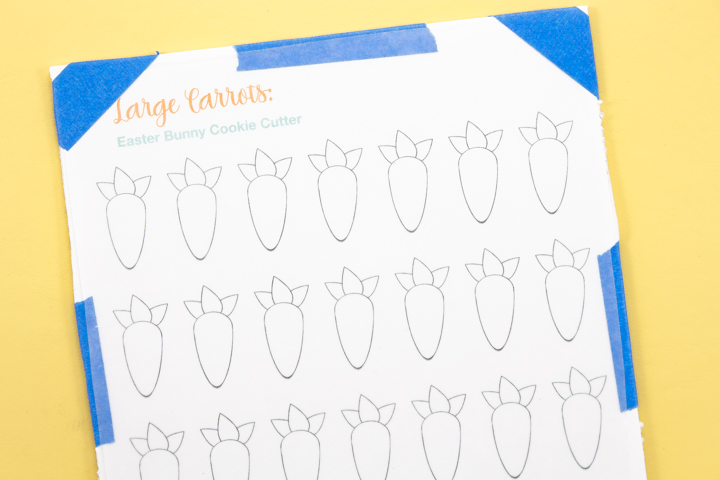
- Large Carrot Royal Icing Transfer Templates
Tools:
- Wax Paper
- Tape
- Foam Board- Tape the Carrot Pattern and Wax Paper to the Foam Board
- Turkey Lacer
- Tipless Decorating Bags
- Fan- for drying the royal icing
Royal Icing Carrot Tutorial:
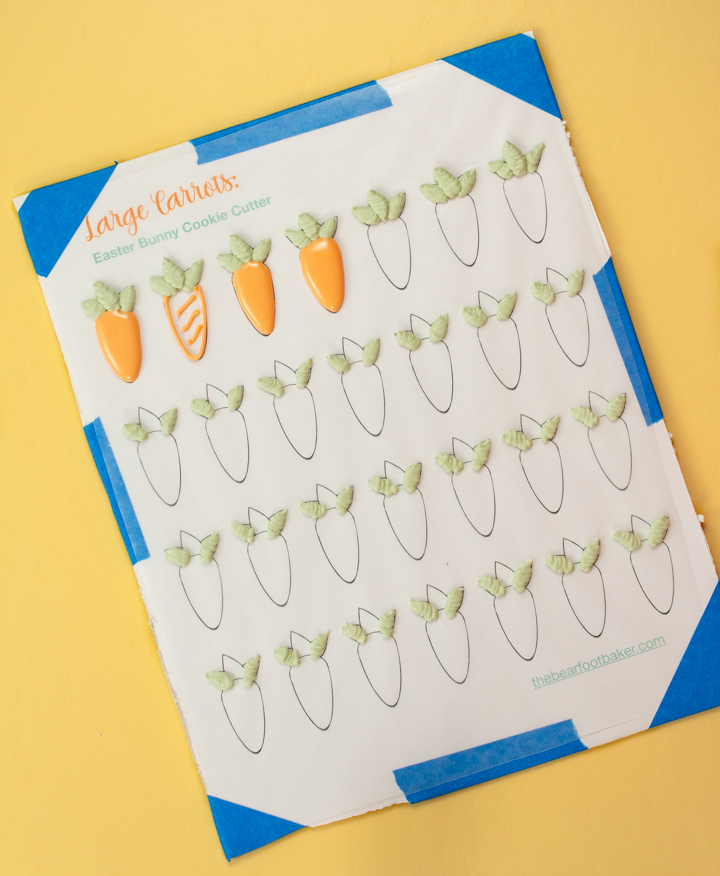
- Begin by printing the royal icing carrot templates and tape them to a piece of foam board. The board needs to be a little larger than a piece of paper. If you’d like to see how I cut my foam board to the correct size you should watch this How to Make Royal Icing Eyes with Free Patterns. Cutting the boards is easy and they’re the perfect size for all of your royal icing transfers and they’re easy to store until you need to make more royal icing candy.
- If you don’t want to make foam boards for your royal icing transfers, you can tape them to the back of a cookie sheet or something else you have on hand. Just keep in mind they need to dry for about 24 hours before you remove them from the wax paper. When you remove them a few might break so always make extra and if they’re not completely dry they will break as you try to remove them.
- Now that the pattern is covered with wax paper and securely taped in place it’s time to start decorating.
- Place the green royal icing into a tipless decorating bag and tie off the top of the bag so the icing will stay fresh.
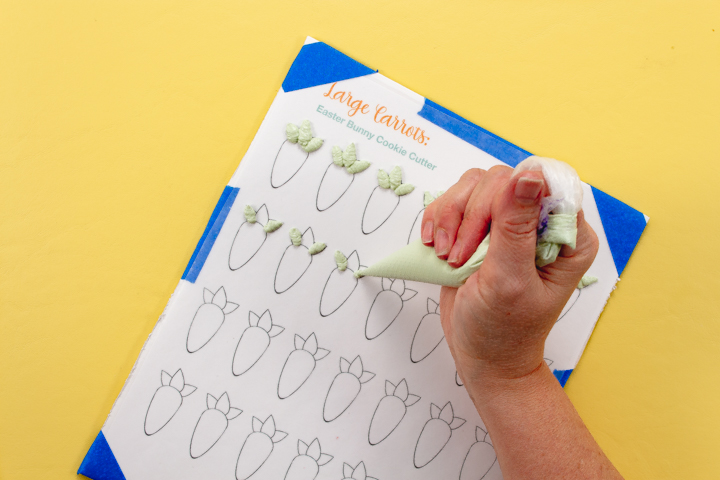
- Cut a small piece off the top off the tip of the bag so you can pipe the top of the carrots or as we call them, the carrot tops. Before you cut the tip flatten the end of the bag with the seam on top then cut off the tip. If you cut the bag with the seam on the side it’ll pipe a line that will look wonky and not pretty so make sure the seam is at the top.
- Start piping the carrot tops with the green royal icing and pipe the two sides first and let them dry for a few minutes.
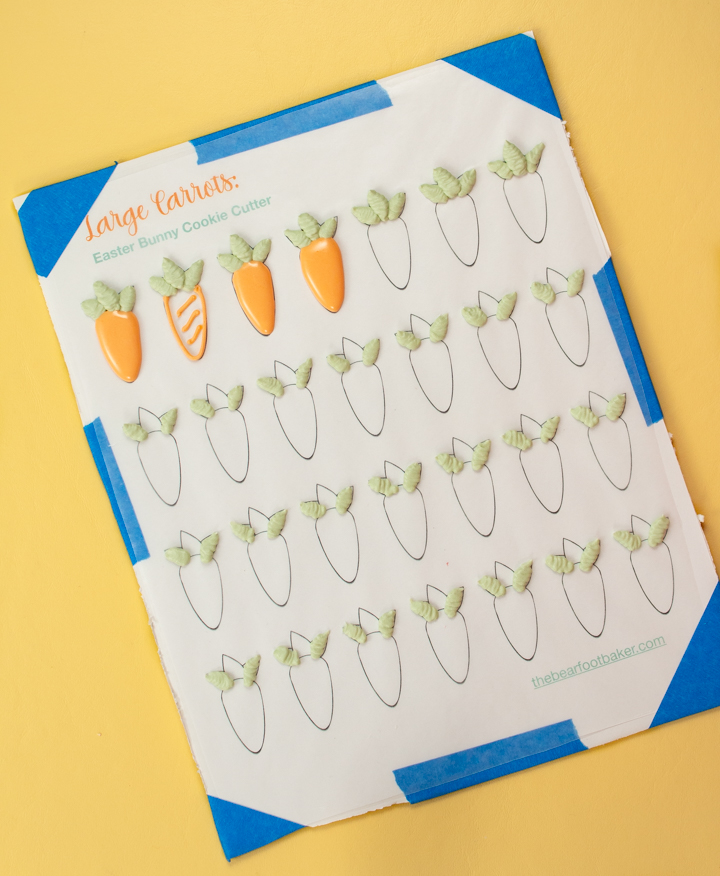
- After the first two carrot tops have dried for about twenty to thirty minutes pipe the center carrot top and let it dry. Piping them this way will cause them to look like individual leaves instead of the icing running together and looking like one big old mess of a carrot top.
It’s time to make the carrot body. There are several ways you can do this so pipe them whichever way is comfortable for you.
- Pipe the body of the carrot with the Orange 15-Second Royal Icing, but don’t overfill it.
- Once you get the shape of the carrot body piped add a few drops of the thicker royal icing. Then, cover them with the 15-Second royal icing. You may be asking why I’m doing this and the answer is simple. Sometimes when you pipe small areas with flood consistency royal icing, the icing may sink as it drys. This will cause a crater in the dried carrot. If you add a little thick icing while the flood it wet, it will help your carrots dry with a nice full body without sinking.
If you don’t want to add the thick icing to the already piped 15-Second Flood Royal Icing you can outline the carrot body and pipe a few lines in the body and let it dry for about twenty minutes. Then, use the 15-Second Flood Royal Icing to flood it and then let it dry completely.
If you don’t have issues with your royal icing sinking just outline and flood your carrot with the 15-Second Royal Icing. I’m sure you know what kind of icing you need in your humidity.
Now you have a few choices on how you can outline and flood your carrots. If you have issues with the carrots once they dry you can make them a different way so they’ll dry nice and full so they’ll look wonderful with your cookies.
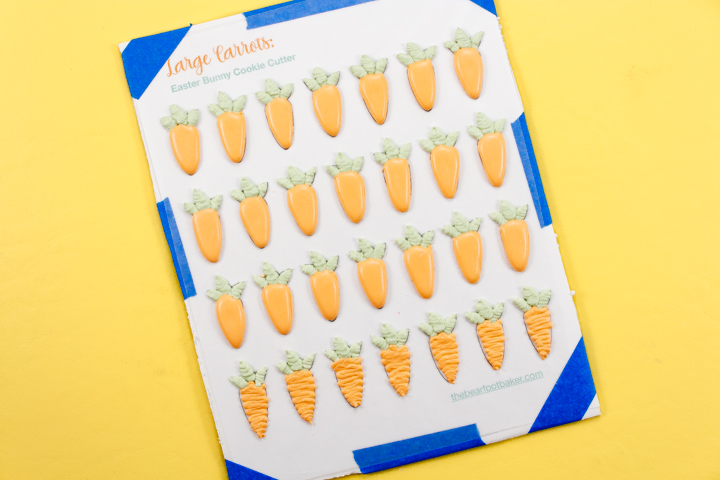
- To make some squiggly bodied carrots pipe a zig-zag line of thick orange royal icing. It’s really fun and I think I’m going to make more for Easter this year.
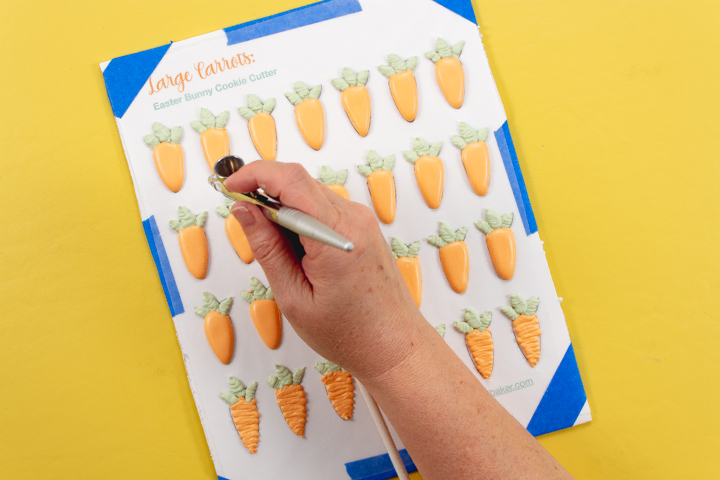
- Once your carrots have dried completely you’ll be ready to airbrush them if you choose.
- I like to start with the orange airbrush color. To see how this is done you should watch the video. It’s simple and I think it’s easier for you to watch it instead of reading how I explain it.
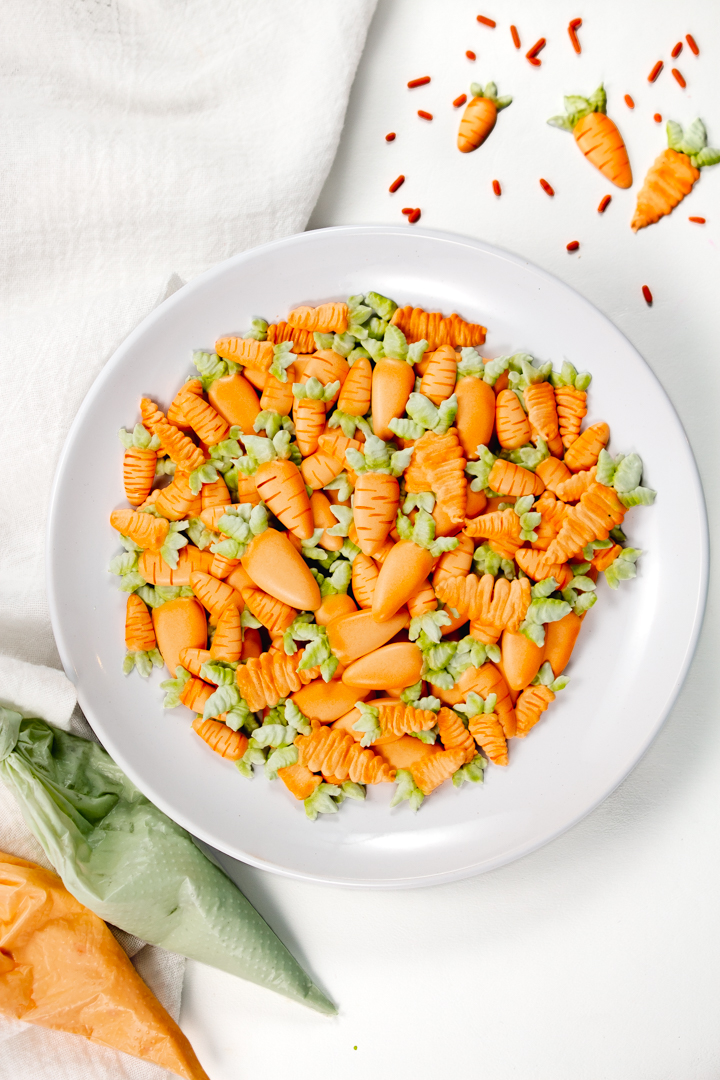
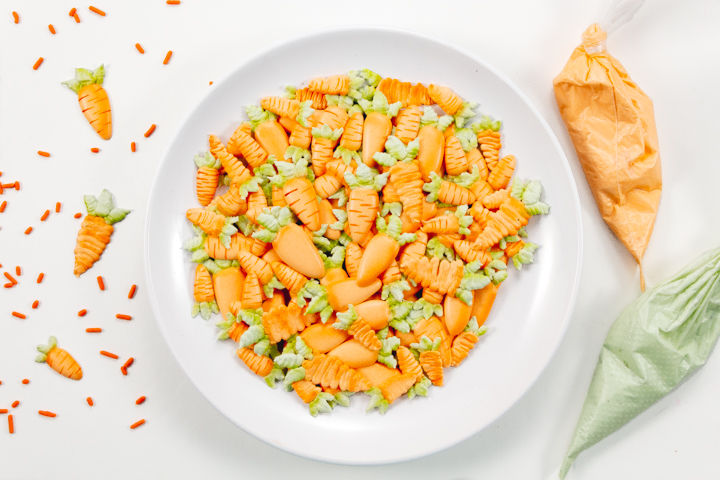
Here are our cute little royal icing carrots and I think they’re adorable. The one thing I didn’t tell you is how to make the cute little lines. I like them because it makes them look like a real carrot. It’s simple. Use a detailed paintbrush like a script liner 0/10. Mix a little brown food gel color mixed with a little vodka and paint a few lines. I think they’ll look great with your Easter rabbits.
Bear hugs,





They are so cute!!! They’re all adorable but I think my favorite one is the squiggly one!
What vodka do you use? I’ve been using absolute because it’s what I already had on hand. But it seems to cause pitting. I know everyone says to use everclear. I know it’s a much higher alcohol content. Does that make the difference?
Thanks!
Hi Nikki,
Yes, the alcohol content does make a difference. You can use water or vodka with lower alcohol content. The best advice I can give is to use a paper towel to remove most of the liquid from your brush before you touch the cookies. I hope this helps.
My favorite one is the one with the lines. Looks more like a genuine carrot.
They are adorable Lisa…..and so cute also…i will definitely make it for my baby…in few some days later….Thanks for sharing….!