Do You Know How to Make Ladybug Candy
This post may contain affiliate links.
Do you like ladybugs? They’re really cute. I love the little spots on their back and usually, they have seven spots with three on each wing and one in the middle. If you think they’re cute, you should add them to your sugar cookies. You can make them ahead of time so you’ll be ready to add a little extra cuteness anytime you’d like. When you make your candy you can mix things up and make as many or few spots as you’d like on each little bug.

Do You Know How to Make Ladybug Candy Supply List:
(may contain affiliate links)
Recipe:
- Half a Batch of Royal Icing Recipe– The royal icing in the tutorial is 15-Second Royal Icing
Royal Icing Colors:
- Red
Tools:
- 4mm Black Pearl Dragees are what was used for these ladybugs. You can also use different sizes for the heads like these 7mm Pearl Dragees to make different sized ladybug candy. Adjust the size of the head to the size of the ladybug body.
- Turkey Lacer
- Wax Paper
- Food Tongs
- Tipless Decorating Bags
- Black Food-Safe Marker- You can use a food-safe marker or black food gel color that has been mixed with a little vodka. To add the dots use the back of a paintbrush so the dots will be a cute little perfect circle. I used both and preferred using the food gel color.
- Something to tape the pattern and wax paper on such as a piece of foam board. You can see how I make mine at The Cookie Network Royal Icing Eyes Tutorial.
- Painters tape
Free Templates:
(For this tutorial I used my small royal icing eyes template. I’m making more ladybug candy this week with the Edible Ladybug Decorations and Templates so feel free to chose from the different sized patterns.)
- Small Royal Icing Eyes & Ladybug Pattern FREE
- Sprinkle Ladybug Template- Small
- Ladybug Template– Medium
- Large Ladybug Template
Do You Know How to Make Ladybug Candy Video

- Begin by taping your pattern on a piece of foam board and then tape a piece of wax paper on top of it. Taping it down holds it in place so the pattern won’t move as you work.
- Now you’re ready to start decorating so grab your red royal icing and have fun.
- Pipe a red dot in a three or four circles at a time so the icing will be wet so you can make the ladybug without the icing crusting over.
- Before you add the head use the turkey lacer to smooth the icing so the ladybug will be pretty without a bumpy back.
- While the circles are wet use the food tongs to add a 4mm Black Pearl Dragee (or the dragee size that you choose) for the head.
- Use the turkey lacer to push the head into place and then let the cute little ladybugs dry completely.

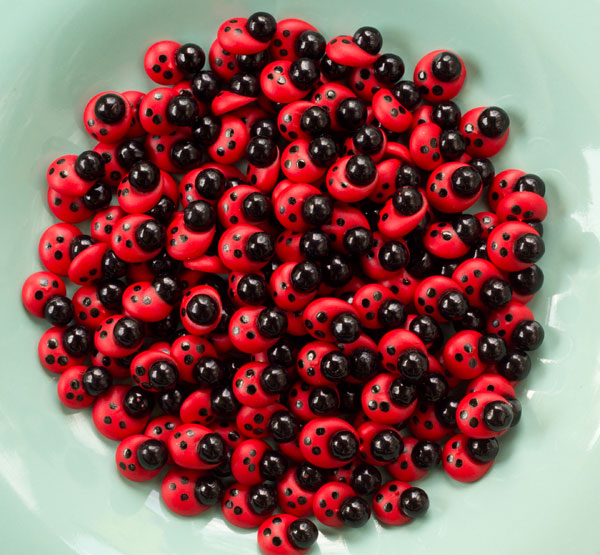
- Here is where I went crazy and removed all the ladybugs before I added the black dots to the back. It’s best to add them before you remove the cute little bugs from the paper. Trust me!
- Use a food-safe marker or black food gel color mixed with a very small amount of vodka to make the dots.
- If you use the food gel color you can dip the end of a paintbrush into the food gel and vodka mixture and touch it to the back where you want the dot. It’s simple and makes a great little circle.
- Let the dots dry completely before you remove the ladybugs from the wax paper.

- All you have to do to remove the ladybugs from the wax paper is gently lift them up because a little pressure is all you need to make them let go.
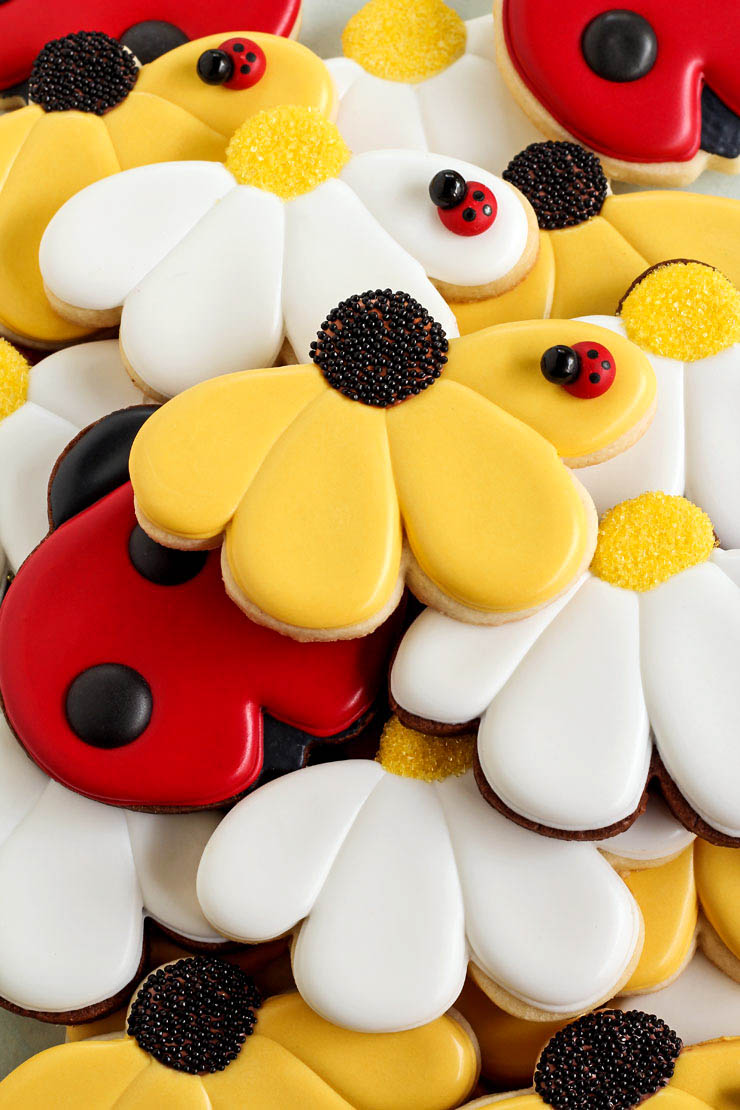
Aren’t these Daisy Cookies with a Simple Ladybug Cute? Making royal icing transfers is super simple and you don’t have to make cookie dough to complete a cookie project.
Like I mentioned before, you can add a different sized dragee for the heads to add a little fun. This is one of those projects the kids love to make so print a few templates and have fun. Just be careful because the beads can end up all over the place.
Once you remove the ladybugs from the wax paper, store them in an airtight container and when you’re ready to add them to your cookies they’ll be waiting for you!
Bear hugs,

You can also make some cool eyes using this template. I got curious and played. I piped a little red into the head space then pushed the pearl in. It gave me a slightly oval red eye ideal for monsters but I think it would work for owl eyes etc if it was done in white. Thanks for the templates, they’re appreciated.