How to Make Adorable Pink Kitty Cookies
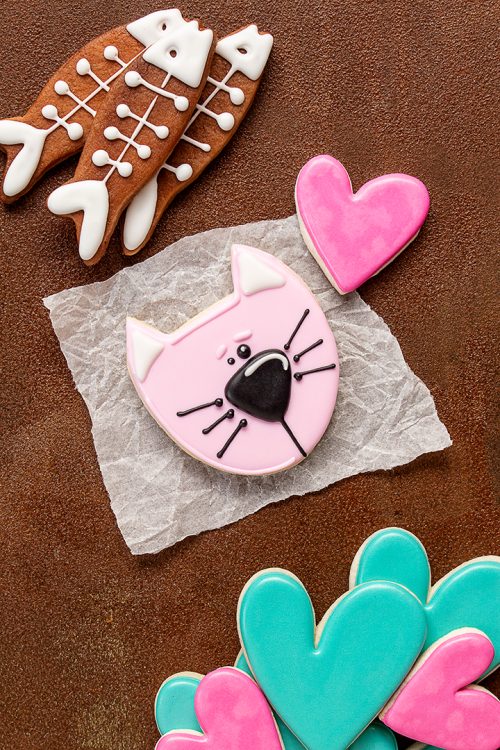
I love decorating cookies with my grandkids. It’s super fun and I love seeing their creativity when they pick up a decorating bag full of royal icing. They didn’t help decorate these pink kitty cookies, but I know my granddaughter Brooke will want to make them the next time we’re together. She loves cats and sugar cookies so I know these will be a hit. All we have to do is wait until school is out so I can spend a week with them swimming, going to Dollywood, and decorating every single cookie they can imagine.
I don’t think my grandson Tripp will enjoy this design as much as his sister does so now I need to figure out what he wants to decorate. I’ll let you know when I have a plan. Until then, will you make these cookies with me? Let’s get started!
Supply List:
(may contain affiliate links)
Recipes:
Cookie Cutters:
- Cat Cookie Cutter- I honestly don’t know where I purchased this cookie cutter, but almost any cat face cutter will work. Here is a link to one by Ann Clarks: 4″ Cat Face Cookie Cutter. It’s super cute and if you want the pointy ears you can trim the dough before you bake it.
Royal Icing Colors:
(I like AmeriColor and The Cookie Countess food gel color but use whatever you like.)
All the consistencies of the royal icing are 15 Second Consistency.
- Pink
- White
- Black
Tools:
How to Make Adorable Pink Kitty Cookies Video:
Enjoy the video!
Let’s decorate!
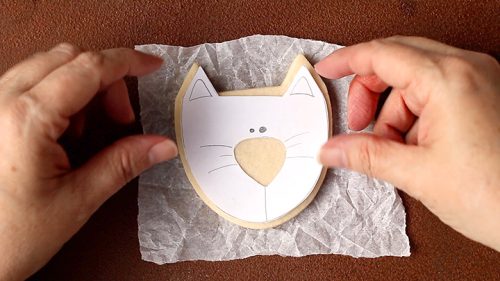
- I don’t know about you, but I like to have my design for the cookie done ahead of time. Before I bake the cookies I trace the cookie cutter and sketch how I want it to look. In this case, I wanted to cut out the cat’s nose and use it as a pattern so all of the final cookies looked the same. If you have paper, a pencil, and scissors it’s simple to do.
- I don’t need it yet, but once the cookies are baked I make sure the pattern still fits because the cookies could have spread as they baked. This is a good fit so let’s get started.
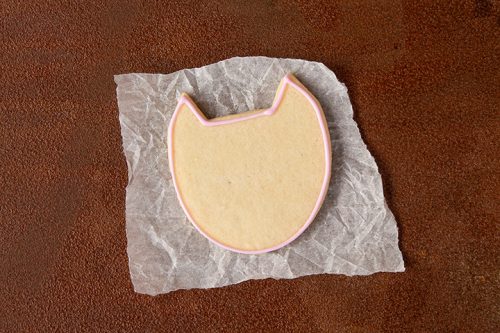
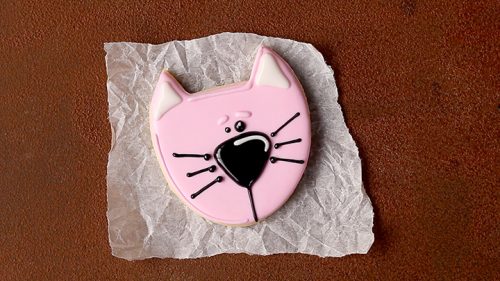
- Outline the cat’s face with the pink royal icing.
Time to flood:
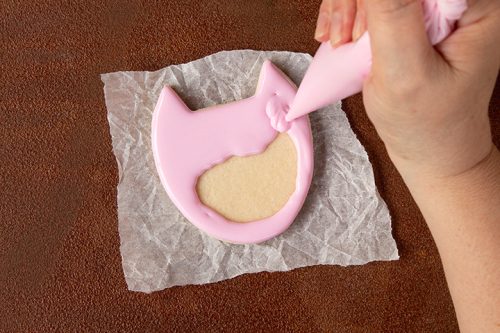
- Flood the cat’s face with the pink royal icing and let it dry for a while. You need to add the pattern to the nose without crushing the icing so let it dry in front of a fan for a few hours.
Let the icing dry before you add the nose:
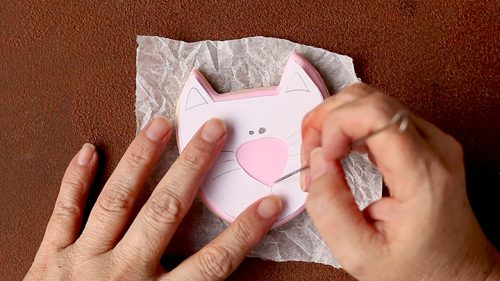
- Once the icing has dried enough use a turkey lacer to scratch the shape of the nose onto the cookie.
Add the nose and whiskers:
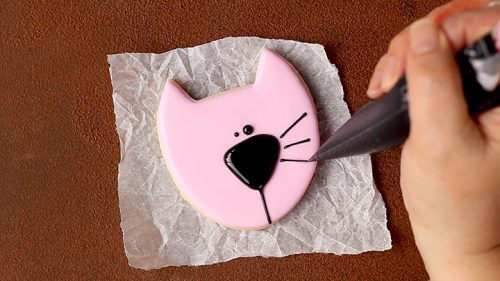
- Outline and flood the nose with the black royal icing.
- With the nose in place, it’s easier to know where you want the eyes. Pipe two dots and feel free to make one larger because it adds a lot of character to the cute little kitten.
- Next, pipe three whiskers on each side and a line from the nose to the bottom of the cookie.
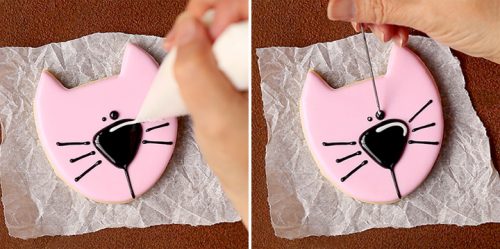
- Use the white royal icing and add a line on the nose. It makes a cute little highlight.
- Pipe a small dot on the end of your turkey lacer (or toothpick) to add a drop of white to each eye.
The ears are next:
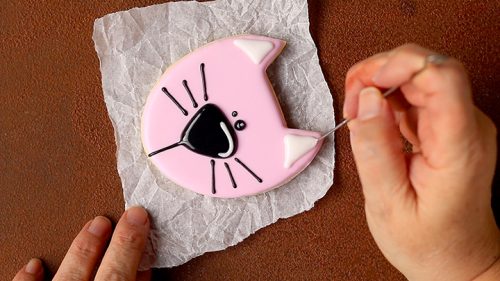
- Pipe two triangle ears with the white royal icing.
- Use the turkey lacer to help move it into place.
Add a few dots on the whiskers:
- Next, Add a drop of black royal icing to each whisker.
- Add two pink eyebrows.
- You don’t have to, but you can add an outline to some or all of his face. I didn’t do all of his face and I liked the way it turned out.
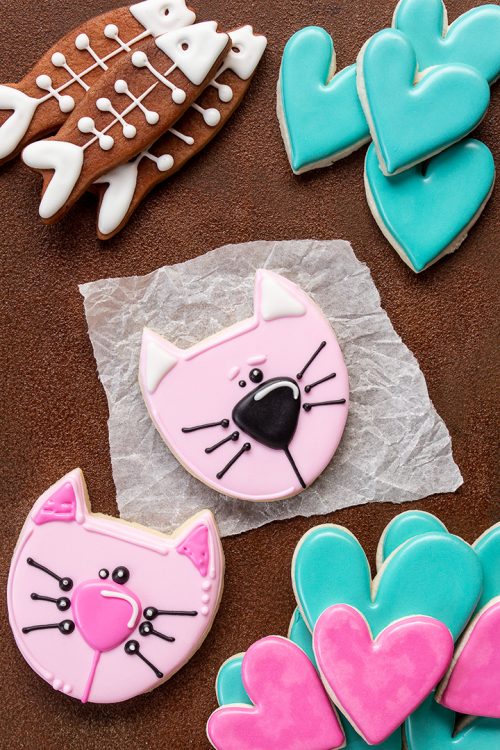
Pink nose or black nose?
I hope you get a chance to make some adorable kitty cookies. I know my granddaughter and I will bake and decorate some the next time we are together and I can’t wait! Hopefully, I can find the perfect cookie shape Tripp will want to decorate. Happy decorating my cookie friends!
Bear hugs,






Love your cookie decorating videos.