How to Make a Simple Airbrushed Nativity Cookie
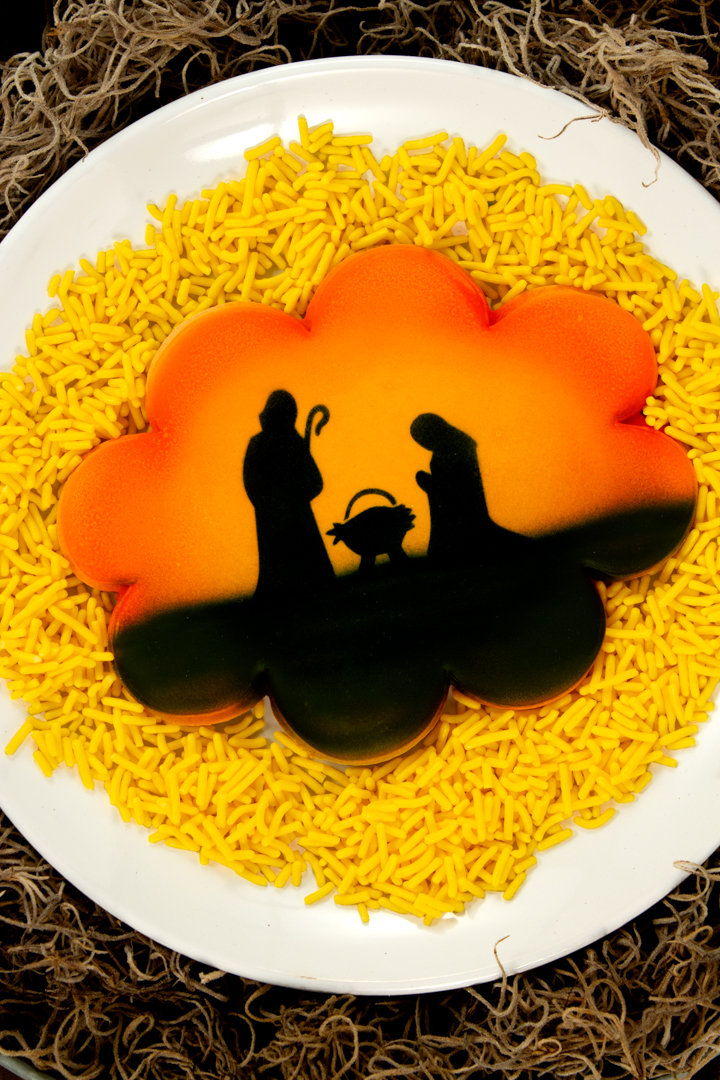
How to Make a Simple Airbrushed Nativity Cookie is a cookie I’ve been wanting to make for a long time. Airbrushing is a great way to add details to a sugar cookie that’s been outlined and flooded with royal icing. There are a lot of ways to add a nativity silhouette to a cookie. You can hand-paint or pipe it, but airbrushing is a very simple way to make a cookie that tells an amazing story.
Like I said before, I’ve been wanting to make this cookie for quite some time and share it with you all. It’s a perfect cookie to give during Christmas because the amazing stencil tells the story of why we celebrate. I made a video for you, but I didn’t take a lot of pictures because the video explains this simple process.
Supply list for How to Make an Airbrushed Nativity Cookies:
(may contain affiliate links)
I found a large oval cookie cutter and decided it would work well for this project. Outline and flood your cookie with white royal icing and let it dry completely.
The Cookie Countess Airbrush Colors:
The Cookie Countess Airbrush System
Airbrush Tools:
- The Cookie Countess Airbrush System
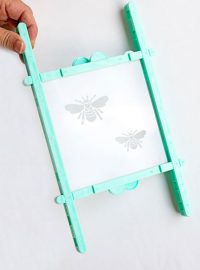
- Sweet Sugarbelle Magnetic Stencil Frame by American Crafts
- The Cookie Countess Magnets
Stencil:
Tools:
- Screen Printing Frame and Base
- The Cookie Countess Magnets
How to Make a Simple Airbrushed Nativity Cookie:
I know this cookie is a little late for Christmas this year, but I hope you and your family had a wonderful Christmas and a Happy New Year!
God bless,








Your airbrush skills are amazing! Are you going to the next cookiecon?