How to Make Cute Royal Icing Candy Decorations
Do you know what Royal Icing Candy Decorations are and how to use them? Better yet, do you know how to make your own? They have many different names like candy decorations, royal icing transfers, layons, and edible decorations and I usually refer to them as royal icing transfers or candy decorations. They’re basically designs you make by piping royal icing onto wax or parchment paper and let them dry completely. Sometimes it can take a day or two depending on the humidity. Once they’re dry you carefully remove them and store them flat or in little jars so they don’t break. You know, since they are made with royal icing they can easily break, but they’re an incredible tool for decorating cookies.
So now that we all know what candy decorations are, did you know you can use PicMonkey to make your own? If you’ve never heard of PicMonkey or thought about using it to make candy decorations, you should. It’s a site that is used for photo editing and it offers premium features that will allow you do all kinds of crazy cool things to your photos. You can add text, make Christmas Cards, Candy Bag Toppers and almost anything you can imagine. You can also use the overlays to make templates for your candy decorations.
PicMonkey has a lot of free features that will allow you to do a lot of different things. They also offer a premium version that will allow you to do even more. It only costs $33 a year and I think it’s well worth it, but that’s just me. You should look at it and play with the free version and see if it’s something you’re interested in using. I’m not an affiliate with PicMonkey and don’t get paid anything for telling you about it so all of the opinions are my own. I just like and use it so much I wanted to share it with you.
Let me show you how simple it is to make templates for your candy decorations.
Supplies for Candy Decorations:
(may contain affiliate links)
Royal Icing Recipe
Wax Paper
Decorating bags, Decorating Bottles, or Truly Mad Plastics Tipless Decorating Bags
Turkey Lacer
- Go to PicMonkey and open an account. Like I said before, start with the free version to see if you like it.
- Next, pick the design option and you will see a blank square where you can create your design.
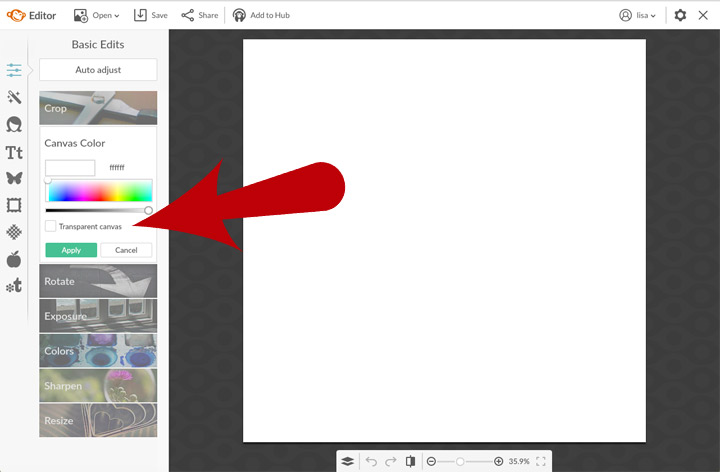
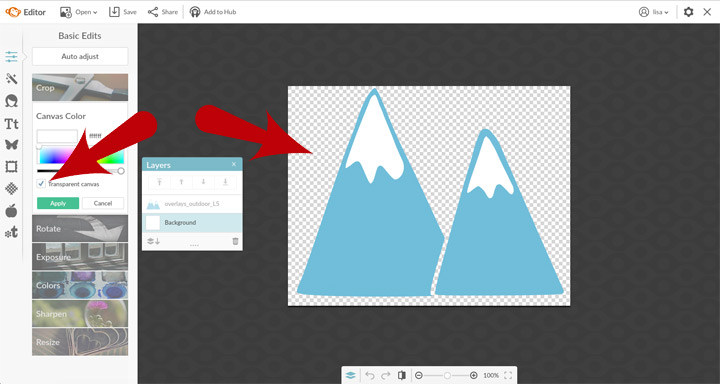
- If you click the transparent box under Canvas Color, you can create a PNG file so you can add it to photos so your image won’t have a background. Pretty cool huh?
Now for the really fun part!
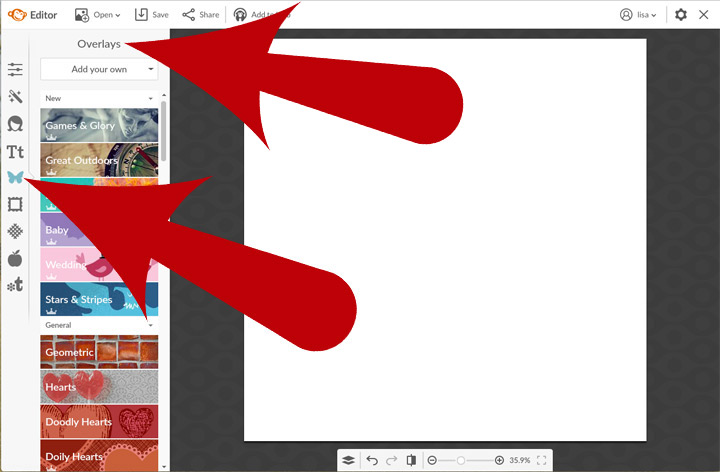
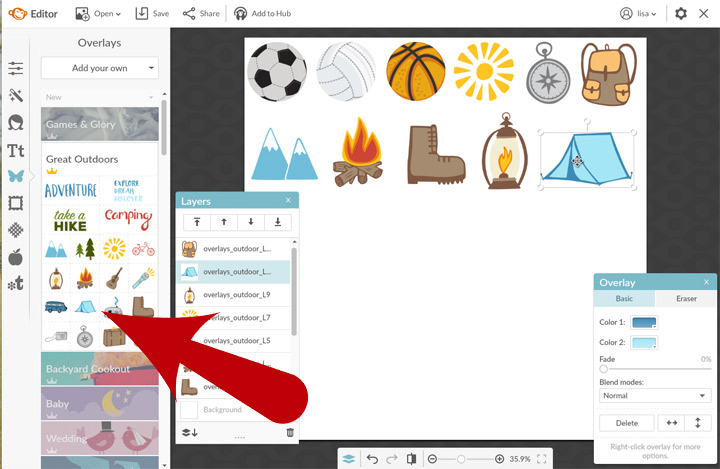
- See the butterfly on the left side of the PicMonkey menu bar. click it and it will take you to the wonderful world of “Overlays!”
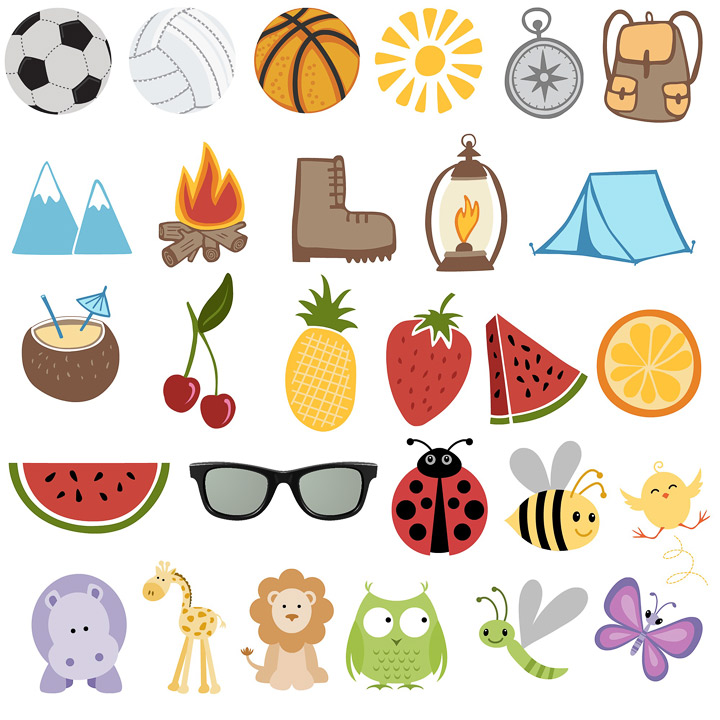
- Now you can look for different images you can use to make a template. There are SO MANY CHOICES! You can make hearts, food, bugs, animals, sports, Olympic things, babies, weddings and so many other things! (Can you tell I’m super excited!)
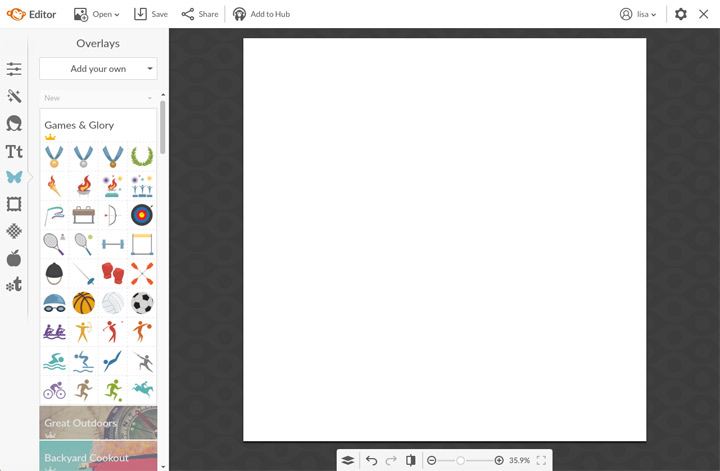
- When you click on a title like “Great Outdoors” you will all the cute clip art images they offer.
- See one you like? Click it and it will show up in the middle of your blank square.
- Just click on that clip art and drag it to wherever you want it on the page. If you don’t like the color, you can change it in the “Overlay” box that shows up on your screen. See “Color 1” and “Color 2?” Click them and pick a new color. SO EASY!
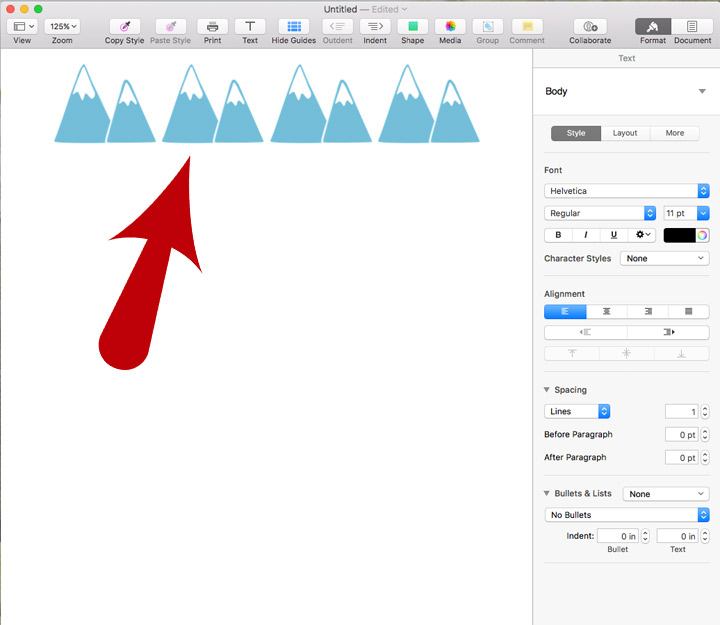
Now the image I made at the top of this page has a lot of clip art on it and I’d never do a template with that many designs. I just wanted to show you a few available options. Let me show you how I make the templates. I have a Mac computer so my way may be a bit different than yours. But we are all smart people. We can figure this out!
- If I were making a template of mountains, I would click the image of the mountain which would place it in the middle of my square.
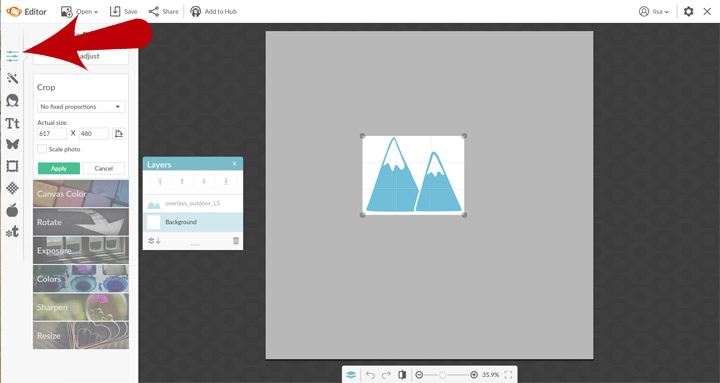
- The next thing you need to do is go to the “Basic Edits” by clicking the thumbnail of the sliding bars on the top left PicMonkey menu bar.
- Make the crop close to the image and click apply.
- Remember when I said you could make a PNG of the image? If you want a PNG, just click the little ‘transparent canvas’ box and watch the background disappear. Ta-Dah!
- Now save the image to your computer and put it someplace you can find it.
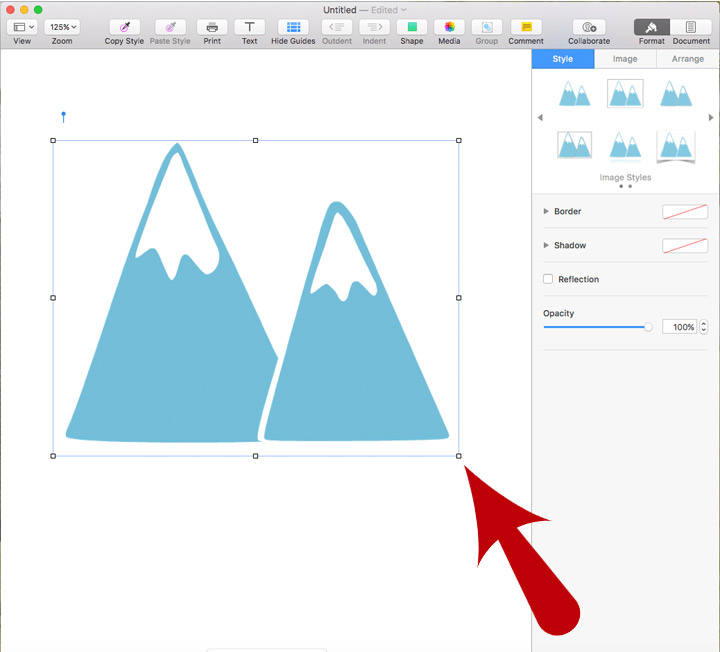
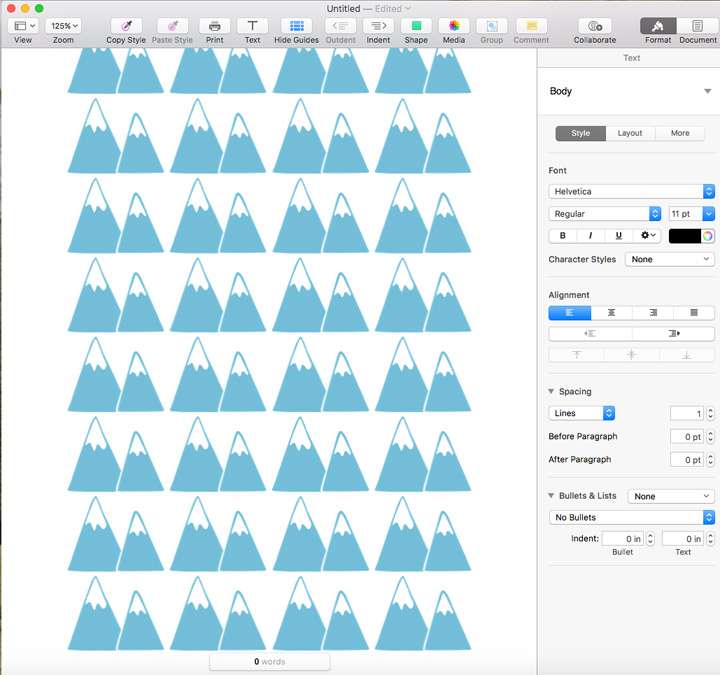
- Open Pages, Word, or Publisher and add your image to it. If you have a Mac, just drag the image to the page and then make it the size you want.
- Move it where you want, copy it, and paste it beside the first image.
- Repeat until you fill the page.
- If you have Word or Publisher, there are several video tutorials on YouTube that will show you how to paste several clip art images on your page. I haven’t had a computer with Word in years so I don’t remember exactly how to do it. If you need help, just email me and I’ll try to remember how I did it in the past even if I have to borrow a computer from someone at Starbucks. 😉
How to Make Cute Royal Icing Candy Decorations
Now that you know how to make the cute little clip art images in PicMonkey, go crazy! Make the templates, pipe some candy decorations and #BearfootBasics so we can all see the magic you’ve created! I can’t wait to see what you make!
Bear hugs,







You know what Lisa?….you are the best!!! Thanks for all you post to help all of u!!!
Janine
This is fantastic! Thanks so much for the great tips and tutorials!!
Hi Lisa!!
Does PicMonkey have an iPhone app that will work the same way?
Hi Melissa,
I know they have a mobile app and you can find it here: https://www.picmonkey.com/mobile-app. I personally haven’t used it because I don’t have great cell or internet service at my house. If you try it will you let us know how it works? 😉
Thank you for this amazing tutorial! This will be so useful!
Which royal icing recipe would be best to use?
Hi Apri,
I like my royal icing recipe, but there are so many wonderful ones out there. Do you live in a dry or humid climate?
What are the trussing needles for?
Hi Wendy,
I use a turkey lacer to help move the royal icing into small spaces in my cookies and to help even the icing out so it’s smooth when it dries. You’ll see me use it in almost all of my videos. 😉
This will make things so much easier than Camera Lucida…thanks for sharing, Lisa! 🙂
Thank you very much Lisa for another amazing tutorial and great tips you are FANTASTIC!!!!