Ribbon Rose Video Tutorial
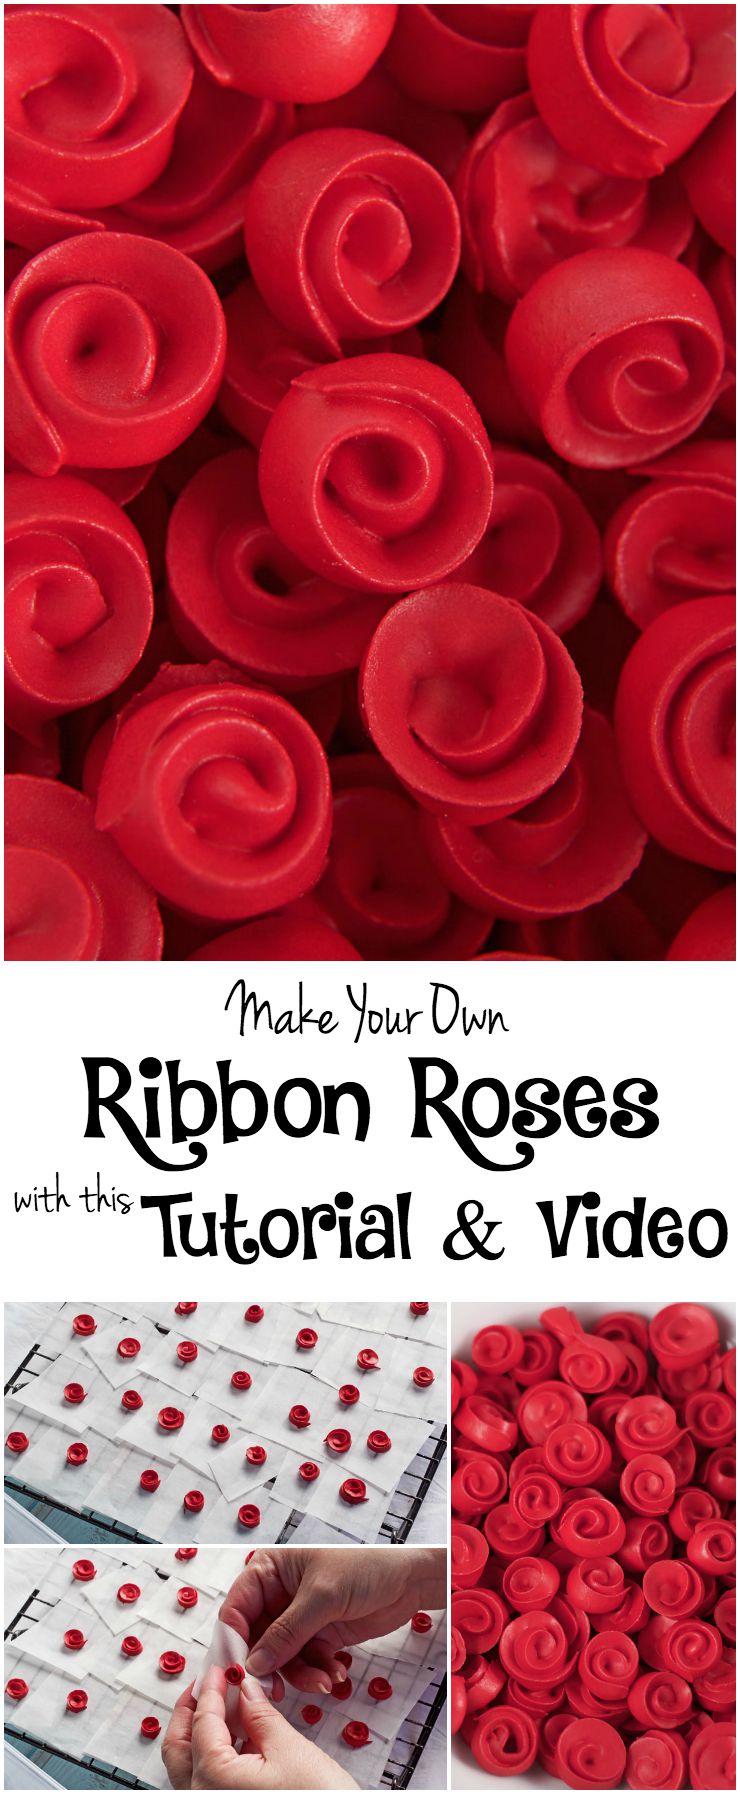
Roses are beautiful flowers but they aren’t my favorite. Don’t get me wrong, if hubby brings them home I am happy but, I would be happier if they were sunflowers. Today, we are going to make some roses because they make perfect little decorations for sugar cookies. I wanted to make a ribbon rose video tutorial so you can see how simple they are to make.
With Valentine’s Day just around the corner, I hope you join me and stock up so your Valentine’s cookie decorating will be much easier.
Supplies for Ribbon Rose and Video Tutorial:
(may contain affiliate links)
- Thick red royal icing
- Decorating tip #101
- Flower Nail
- Parchment Paper Squares (I cut mine but you can buy them at local craft stores or use Wilton Pre-cut Flower Squares.)
- Double-sided tape
- Tipless Piping Bags
Do you want to watch the video first or see more pictures? The video? Okay. Here it is.
Now let’s talk about icing consistency because it is one of the hardest things to master about making cookies. It takes time and practice and it is something that we all have had to learn. You can do it. I promise. Just don’t give up. Keep practicing and you will be making beautiful cookies before you know it.
The icing used for these roses is thick so it’ll hold its shape and won’t run together. Once you make your icing, stick a spoon or knife in it and pull it up. It should form a peak that doesn’t fall down and run back into the icing it was pulled from. But be careful, don’t make it so thick that you can’t pipe it without breaking your wrist.
If your icing isn’t thick enough, you can add a little powdered sugar and mix it well until you get the desired consistency. If your icing is too thick, add a little water to thin it.
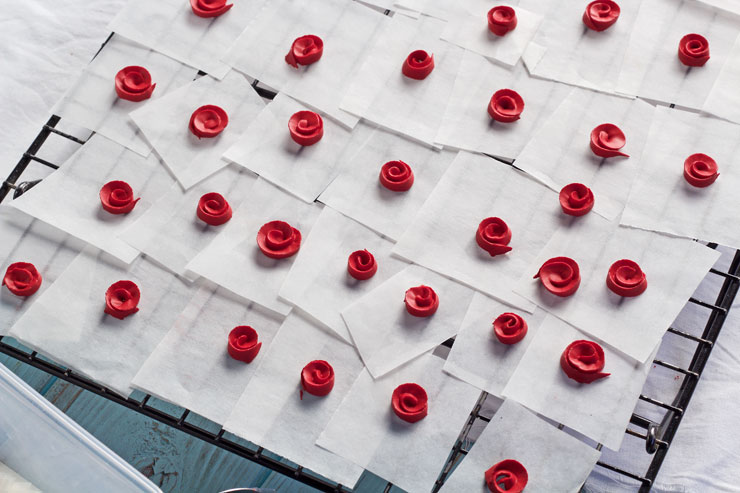
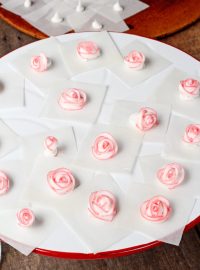
Follow the video to make the roses and then let the roses dry overnight.
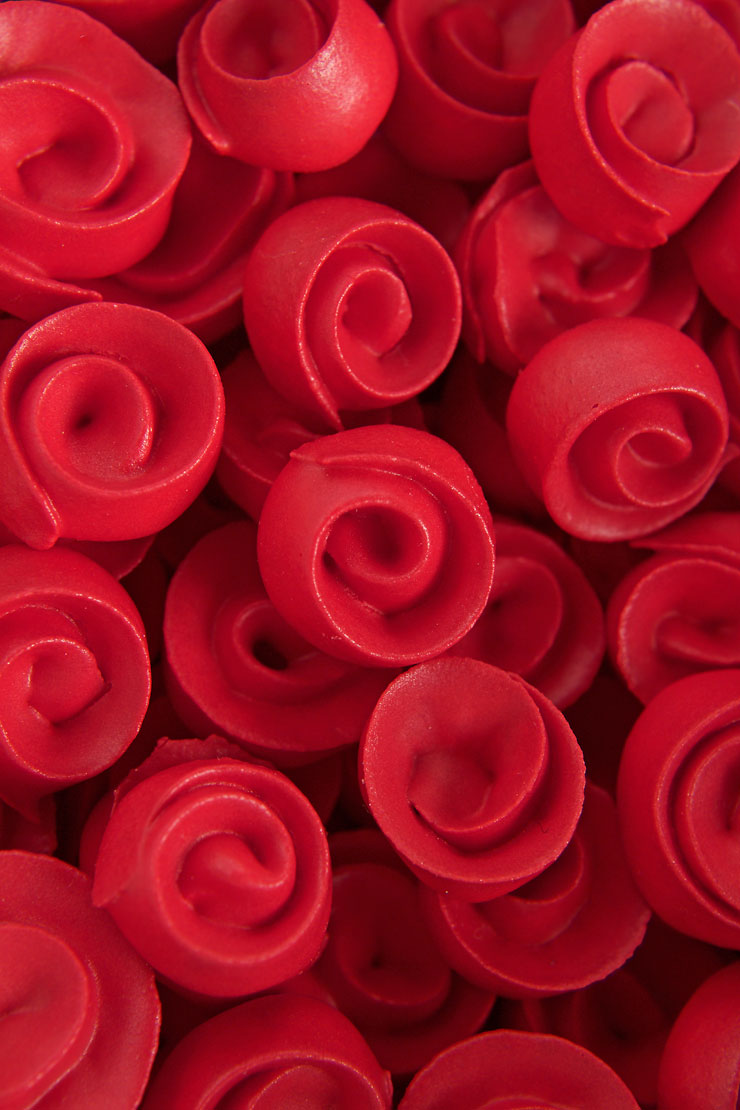
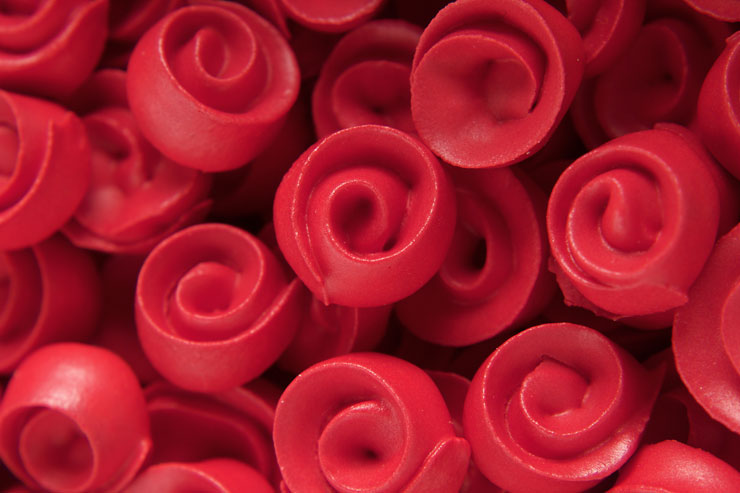
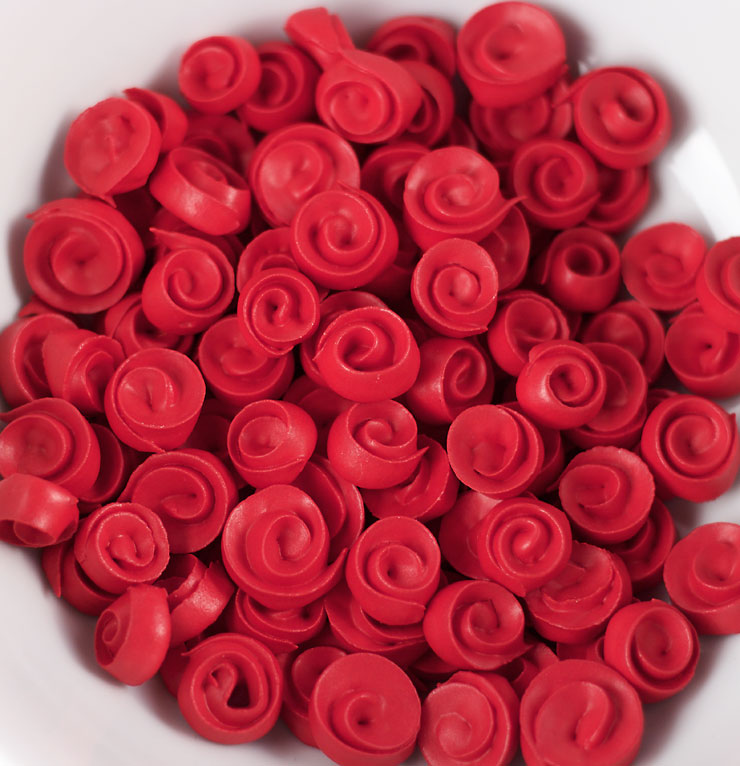
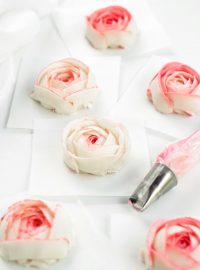
I want you to notice how some of the roses look a little more closed and some look more open. If you hold the tip straight up and down when making them, the rose petals will be tighter. If you angle the tip away from the center of the rose a little, the rose will look like it is a little more open. I like to make both so they look more like the roses in nature.
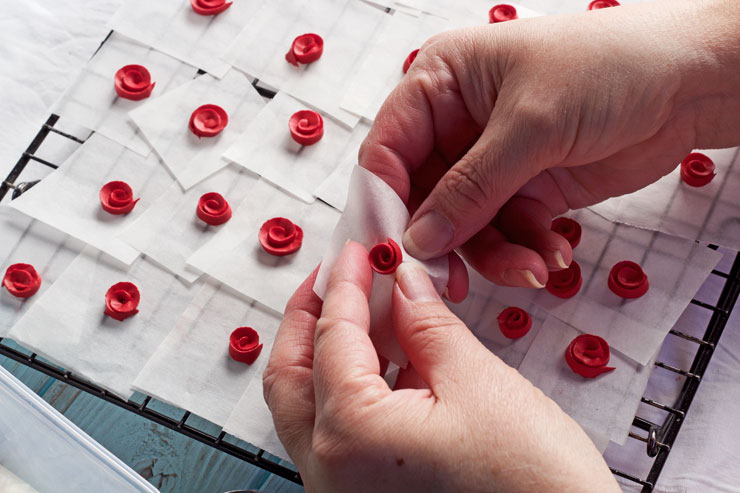
To remove them from the parchment paper, gently pull the parchment paper from the back of the rose.
Aren’t they pretty? Make several different colors and store them in an airtight container in a cool dry place away from the sun because the sun will fade the color and make them look like wilted roses. None of us like wilted roses and that wouldn’t look good on a cookie. Yuck!
Ribbon Rose
I hope you make some red ribbon roses soon because I have already made some cookies for Valentine’s Day that I will share with you soon.
Bear hugs,





Love these roses. I’ve only made swirl ones but I have a flower nail now so I’d better get busy:) Thanks–Katy
love your video! And your whole site! I haven’t done any piping lately…now I’m in the mood 🙂
I wish you lived close and we would make something fun today! 🙂
How close or far are you from Nashville?
I am a few hours away. Maybe 3 or 4. Where are you?
Absolutely perfect! Thanks for sharing. I’ve been searching for this for a loooooooong time.
I am so glad you found it! 🙂
With Valentine’s Day quickly approaching, these will be perfect!
This is just fabulous! My ribbon roses are horrendous. So glad you posted this. 🙂
Hi Lisa!
Do you cut your parchment squares yourself, or do you buy them precut?
Thank you so much for all your tutorials. You inspire me with every post.
Hi Catherine,
I did cut the squares myself. I have added a link under the supply list so you can find them on Amazon if you prefer to buy them. 🙂 You can also find them in your local craft stores such as Michael’s or Hobby Lobby.
I remember when my mom was trying to teach me to make roses, maybe if I had this soothing music I would have caught on a bit quicker! Loved the video!
Awesome! I’ve been stocking you site… Watched all your tutorials 1000 times 🙂 REALLY! Thank you for making them. Royal icing bag made, rose nail in hand- I’m gonna try it 🙂 you make it look easy! Thanks again!
Очень красиво ! Очень хороший урок!
Thank you! 😉