Shamrock Royal Icing Transfers
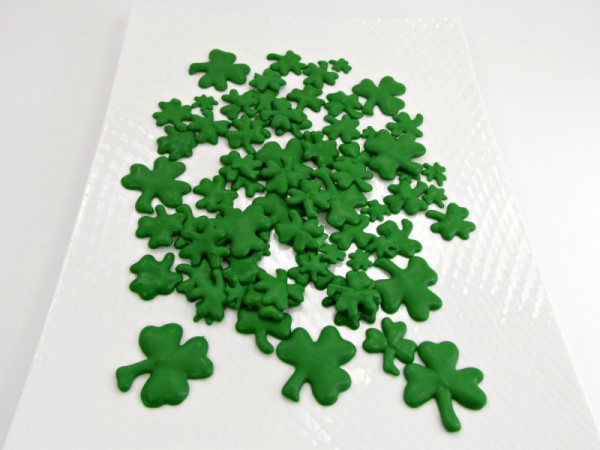
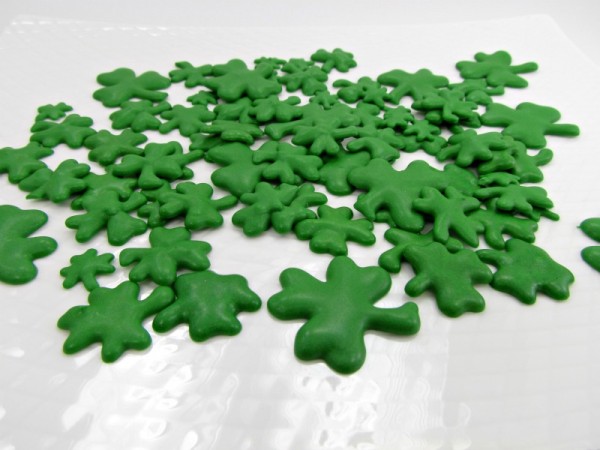
I like royal icing transfers. I do not use them as much as I should, but they’re fun to make and you can use them to decorate all types of desserts. You can decorate cakes, cupcakes, and cookies. Let’s make cute shamrock royal icing transfers today because St. Patrick’s Day will be here soon.
See! They are so cute! I want a box full of them.
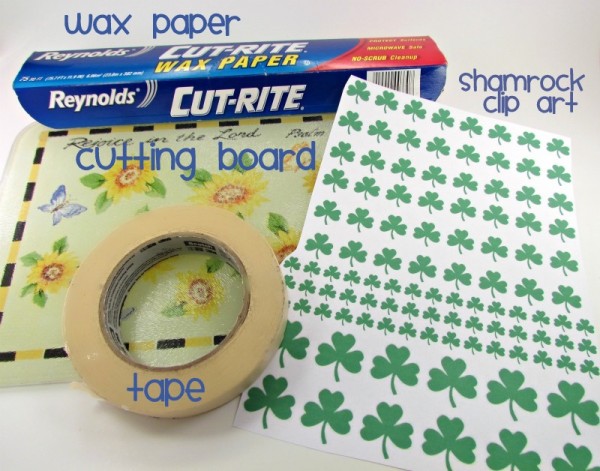
Supplies for shamrock royal icing transfers:
Tape
Flat work surface- I use a glass cutting board
Wax Paper
Green Icing
Shamrock Transfers
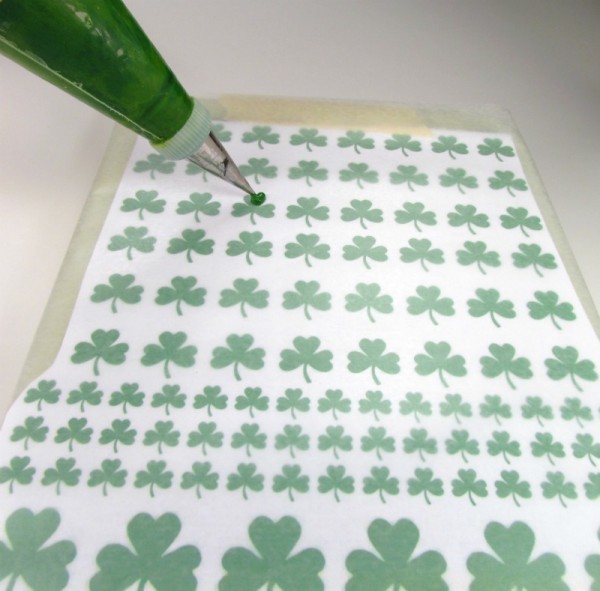
The first thing you need to do is print off your template. I used a shamrock I found on a free clip art site. Then I made it different sizes.
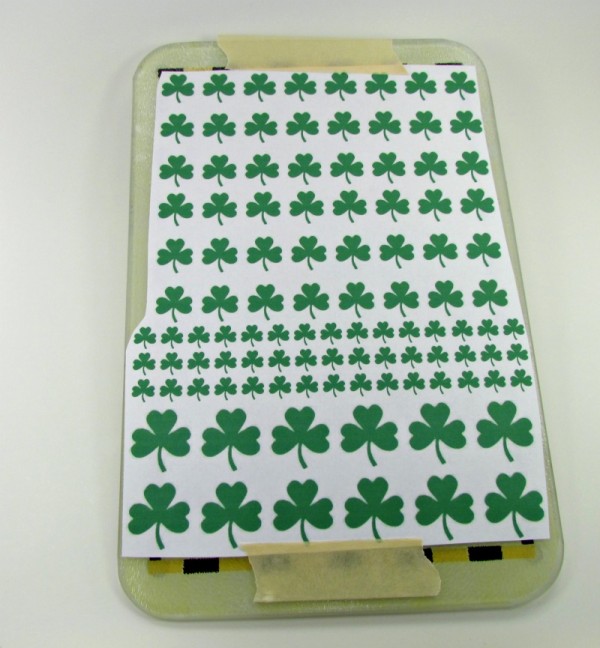
Next, tape your clip art paper to a flat surface like a cutting board. It’s a perfect size and that makes me happy. I was a high school secretary and the basketball coach gave one to all the secretaries in the office. He was sweet like that and did nice stuff all the time! Thanks, coach!
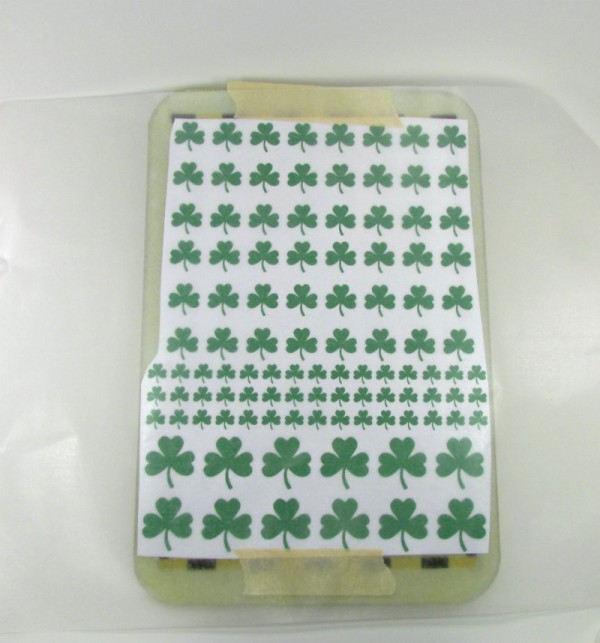
Once your template is taped down, cover it with wax paper, and tape them nice and tight. We don’t want wrinkles messing up our designs.
Next, with your green icing, trace the shamrocks. I used my 15-Second Icing for these. Cover as many or as few as you want but make a lot of extras. Sometimes they break when you remove them from the wax paper.
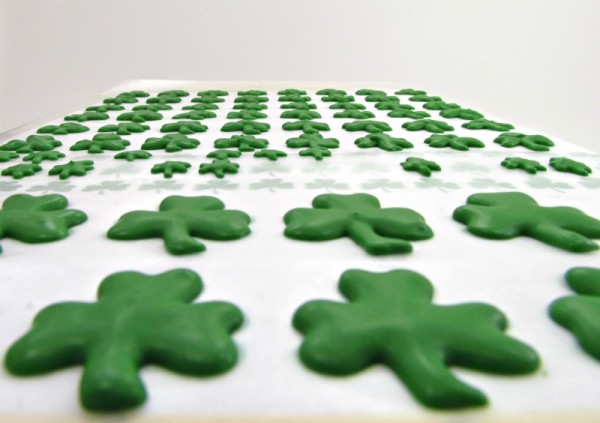
Once you get the shamrock royal icing transfers piped, let them dry completely or overnight.
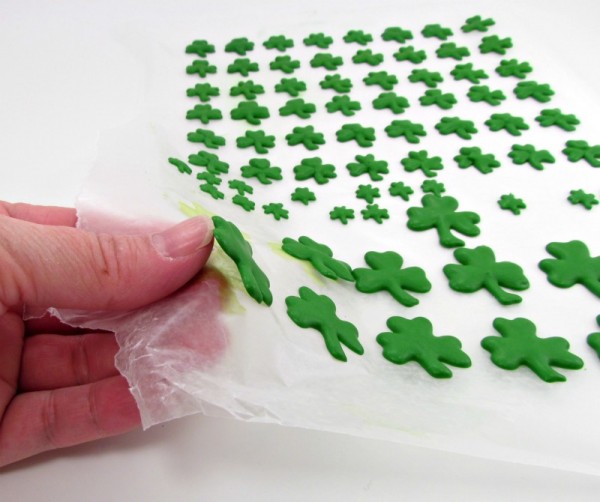
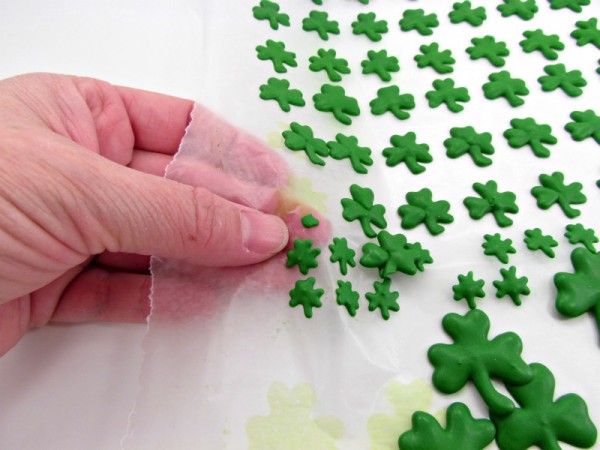
Are you ready to have some fun? This is my favorite part! Gently remove the tape from the wax paper. Then, carefully peel off the shamrock royal icing transfers one at a time.
I hate to tell you this, but not all of the shamrock transfers will survive. Some of them will break and that’s okay. That is why we make extras. Don’t cry over spilled milk or broken shamrocks. They’re easy to make so just keep piping.
Guess what? You know how to make shamrock royal icing transfers. Congrats! You can store them in an airtight container for several weeks. Now that you can make RI Transfers, go crazy and make things like these cute panda bears that Haniela made.
Want to see my first-ever Royal Icing Transfers? Click here and here and please don’t laugh! It was a long time ago!
If you’d like to know how I store royal icing transfers, click here.
Happy Creating,






I love transfers! Your first transfers are PERFECT! I love those COOKIES with Madison’s designs… can’t wait to see what you come up with tomorrow! xox
What was I thinking?! I shouldn’t ever throw leftover RI away when I can make something so adorable with it! RI transfers have just been added on my to do list for tomorrow. I have blue and yellow leftovers. I’ll be curious to see what kind of green I’ll end up with and also curious to see what you do with these babies.
LOVE them! I’ll be waiting for tomorrow…well, TODAY! (It’s very early in the morning…hehe) 🙂
I love these, I made shamrock transfers last year and they are so fun to use. I can see these on a cake cascading like flowers.It would be so pretty.♥
I already have a little bowl full of RI shamrocks! I can’t wait to see what you do with them!
I love transfers. I love having leftovers that you can just pop on any other project when you need something quick. And I LOVE that they let me decorate cookies in shifts!
I love making transfers. Great idea. Can’t wait to see what you do with them!
Oh I LOVE, love, love this! Just wish I had seen it sooner! 🙂
These are so cute!!! I can’t wait to make some. I’d love to put them on mini cupcakes.
Great reminder! Royal icing transfers are great to have on hand! These ones are so cute!
cute CUTE! i always enjoy your blog posts & tutorials. so much fun 😉
I’ve only made royal icing transfers a couple of times and I love them. This post has reminded me to stop throwing away icing and start making some transfers. I love the cutting board idea. I use cookie sheets but if I have baking to do it’s not ideal to use the cookie sheet. Can’t wait to see what you make with your shamrocks!
what a great idea to use the background as a guide! This is where one hits ones head and says…duh, why didn’t I think of that before! HA!
Cute! I liked your original RI transfers too! That Valentine embrace was impressive for a first RI transfer. Much better than my firsts, which I fondly refer to as the “amoeba flowers.” Do you ever have trouble pulling the transfers off the waxed paper? Do you ever use shortening or something similar to make the transfer easier, despite oil’s reputation as the enemy of RI? Thanks a bunch! Kristina
I do have trouble sometimes with a few of them but that is why I make extra. I have never used anything on the waxed paper because I don’t want my icing getting all spotty. I make a lot and store them so they are ready when I want to decorate.
These are great! At what point do you place them on the cookie??
Place them on the cookie when they are dry. You can store them in an airtight container for weeks before you use them.
Hi! Is there any way to make RI transfers dry faster? I have already tried with a fan and they’re still not completly dry. I was thinking of putting them in the freezer. Will this help or just ruin them? Thanks!
The hard thing about Royal Icing is waiting for it to dry. I have never put them in the freezer but, you could make a few and try it. I always wait patiently. hahah
Thanks Lisa! I’ll let you know how it turned out 😉
Hi,
If you dont mind me asking….what # & brand tip did you use?
Thanks and thanks for the tutorial!
I love PME Tips and I usually use #2. I love #3’s for flooding and “1.5’s are awesome also. You can purchase then at http://www.karenscookies.net.
Thanks so much….I actually have a stash of PME tips, they are like no other! 😉
what is the clip art site I need to go there
is there a special way you store your transfers. thanks
Hi.
I store my RI Transfers in a few different ways. I am working on a tutorial now and hopefully will share with in the next week or so.