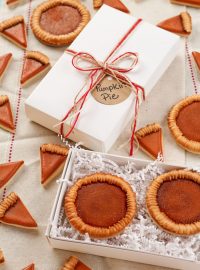
Cute Pumpkin Cookies
It is Fall. Autumn is amazing. The weather it a little cooler, the leaves are starting to change colors and the sun sleeps a little later and goes to bed a little early each night. When fall arrives, it does something to me. I am alert, full of energy and I become a madwoman in the kitchen. I bake and cook anything and everything I can get my hands on. I don’t make dinner for one night, I make dinner for three nights. I can’t make just one cute pumpkin cookie, I have to make several cute pumpkin cookies with ever pumpkin cutter I own.

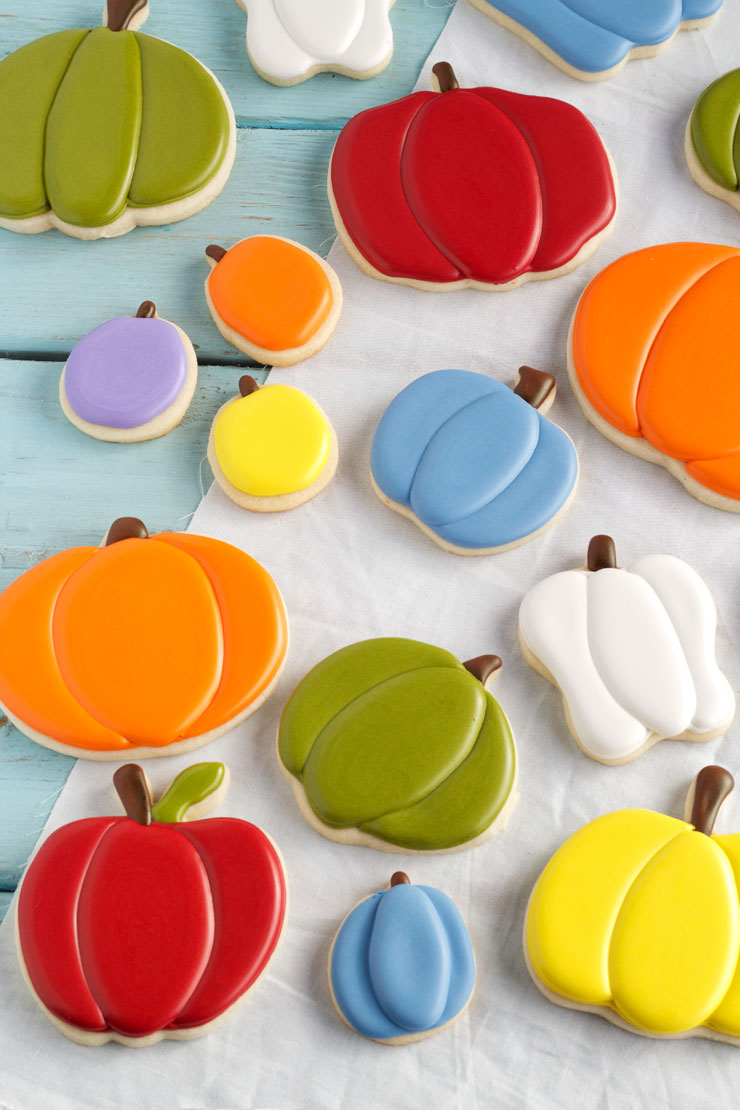
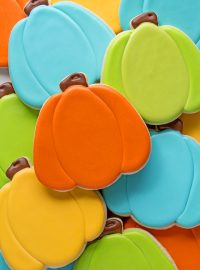
I even use cutters that are just pumpkin shaped. I grab any cutter that I think can be made into a cute pumpkin cookie. The fall frenzy drives me to bake and look at things with a creative eye. Do you see the white pumpkin? It is made with a bell pepper cookie cutter. The purple one is made with an apple cutter. I am sure you can look at your cutters and find unique cutters that will make great pumpkin cookies.
Supplies for Cute Pumpkin Cookies:
(may contain affiliate links)
Pumpkin Cookie Cutters
Any Color of icing you want
Brown icing for the stem
Cookie Recipe
Half a batch of Royal Icing Recipe
Pumpkin cookies are great for people who are starting the cookie decorating journey. Cute pumpkin cookies can be decorated by outlining and flood the body or making sections to give the pumpkin some dimension. They are great for practicing your piping skills. Even though they are simple, they are adorable. They make great gifts for teachers, co-workers, postal workers, your doctor, dentist or vet. Seriously, people will light up like a Christmas tree when you hand them pumpkins. Don’t wait until a holiday to spread some cheer, give them a box of simple pumpkin cookies and make someone’s day a little brighter just because it is fall.

- Begin by piping the stems brown. I airbrush a little warm brown color on the right side and the bottom of the stems but, you don’t have to if you don’t want to.
- Then, outline the pumpkin body in three sections.
- Flood the outer two sections and let the cookies dry for about 20 minutes to allow the top of the icing to firm up. If you want your icing to dry with a bit of a shine, place them in front of a fan while drying.
- Next, flood the center section and allow them to dry completely or overnight.
Then, box or bag them and spread some cheer.
More cute pumpkin cookies:
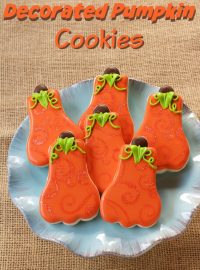
- Decorated Pumpkin Cookies by Sweet Sugar Belle
- Colorful Painted Pumpkin Cookies by Glorious Treats
- Chevron Pumpkin Cookies by Lizy B Bakes
- Funny Face Pumpkin Cookies by Munchkin Munchies
- Silly Pumpkin Face Cookies (Klickitat Street)
- Mickey Mouse Pumpkin Cookies
- Folk Art Pumpkin Cookies
Bear hugs,


I do love these little pumpkins and all the beautiful fall colors you used! 🙂
These are absolutely perfect! I have a couple of different pumpkin cookie cutters, so I will have to give these a try! So simple, and yet so beautiful.
Thanks Kacey! I hope you have as much fun making them as I did!
Love the colors!! Can you tell me how you achieved the green and blue shades?
Hi April,
The green was made with Wilton Juniper Green with a little AmeriColor Chocolate Brown and a little AmeriColor Electric Green.
The blue is made with Wilton Delphinium, Wilton Violet with a touch of AmeriColor Violet.
I will add the color mixture to the supply list.
Hugs,
Lisa
Thank you so much!!
Love your work! So neat!!
What colors did you use for the red pumpkin?
Hi Sarah,
The red is AmeriColor Super Red with a little AmeriColor Chocolate Brown. I just add one drop of brown at a time until I get the shade of red I want. 🙂
Dear Lisa,
I am recently retired and finally have time to explore some of my domestic hobbies and interests. I just started discovering your beautiful website – I’ve always been a pretty good cook and baker, but my decorating skills needs a lot of practice.
I admire your talents and I love the sensible way you explain your methods – it’s just the way I would do things!
I had great success with your delicious sugar cookie recipe – refrigerating the rolled out discs between silicone baking mats was brilliant! I really flubbed up the decorating, but that was just my shaky hands and too thick a consistency of the royal icing.
I adore you, your website and all your amazing projects. Thank you so much for all your patient explanations and logical, step by step tutorials.
Best regards,
Tania Delling
Olivehurst, California
You are so sweet Tania! I know you can grow your decorating skills with practice. None of us were good from the start. Here are my very first decorated cookies. It should give you confidence to see had bad I was! LOL
https://www.flickr.com/photos/45017106@N08/4156885414/
https://www.flickr.com/photos/45017106@N08/4156901428/in/photostream/
https://www.flickr.com/photos/45017106@N08/4156139675/in/photostream/
Check out those awful photos! I promise you’ve got this!! 🙂