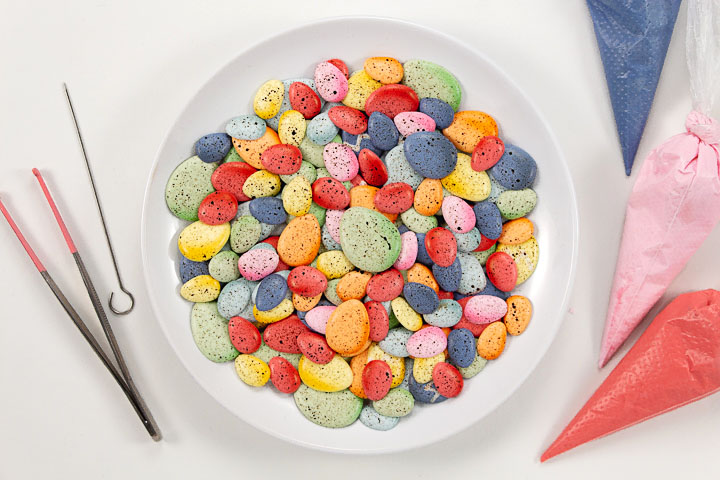
How to Make Colorful Easter Egg Cookie Decorations
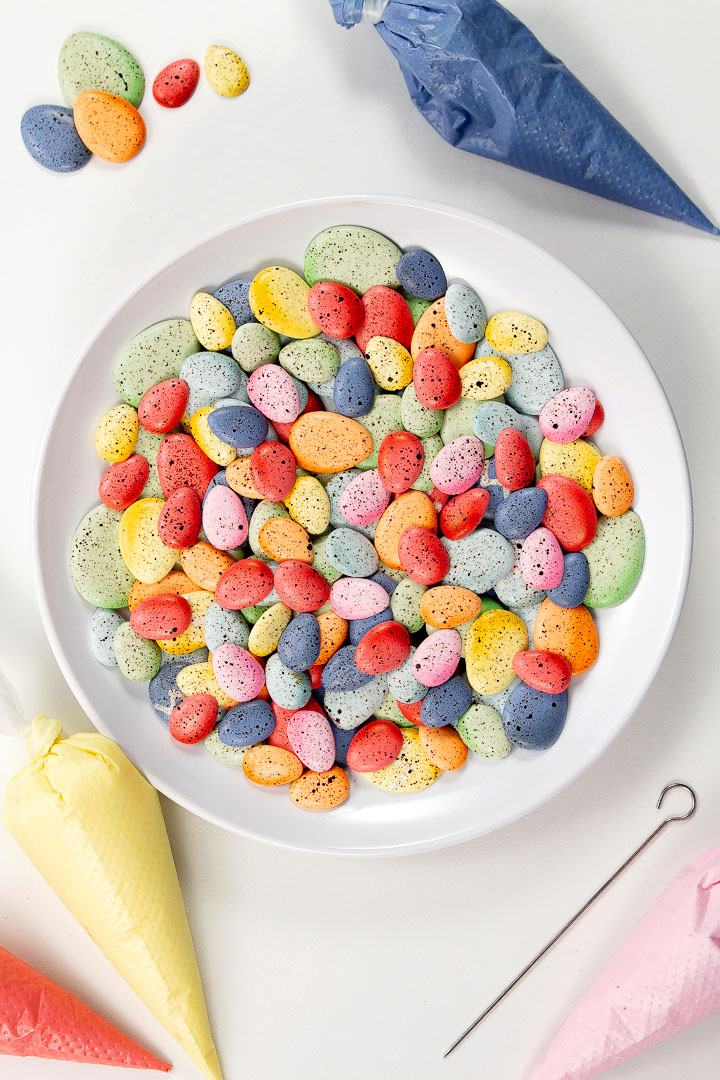
Decorating Easter cookies is a great way to share some colorful cookies with everyone you know. Playing with colorful royal icing is a great way to spend an afternoon especially if you invite the family to help you get creative. You don’t have to wait until Easter to make some colorful Easter egg cookie decorations because you can make them now so they’ll be ready to make those beautiful cookies whenever you’re ready.
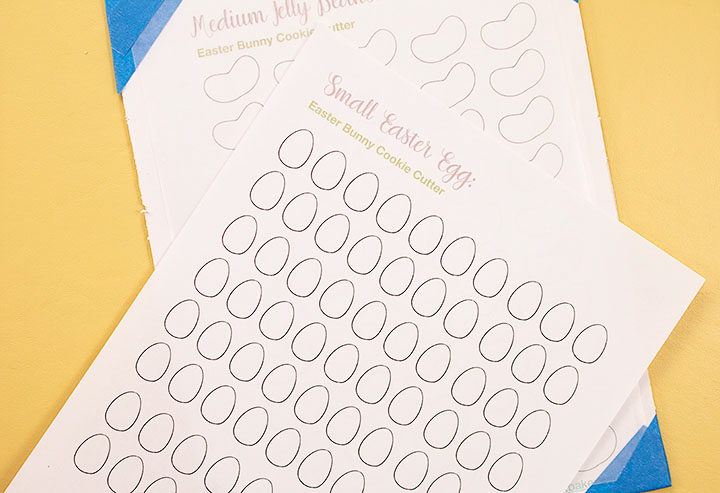
If you look in the supply list below you can find three free patterns that will help you create all the colorful Easter egg cookie decorations you want no matter how far away it is until Easter.
Once you make your Easter egg cookie decorations, store them in an airtight container so they’ll be ready to decorate whenever you’re ready to make beautiful cookies.
I know you’ve heard me say it a million times and you’ll probably hear me say it a million times more, but royal icing candy decorations is a great way to use all of your royal icing. It’s already mixed and in piping bags or bottles so you might as well use it to make pretty things.
Supplies for Colorful Easter Egg Cookie Decorations:
(may contain affiliate links)
Recipes:
FREE Easter Egg Royal Icing Transfer Patterns:
(click each link below to download the free patterns)
- Small Egg Royal Icing Transfers for Bunny Cookie Cutter
- Medium Easter Egg Royal Icing Transfer Template
- Large Easter Egg Royal Icing Transfer Template
- Extra Large Egg Royal Icing Transfers
Royal Icing Colors:
(Use any gel colors you like. I had these colors leftover from the Polar Bear Cookies and the Simple Jelly Bean Cookie Decorations. Leftover icing should never be wasted because you can use them for cookie decorations so decorating will be easier. The consistency is 20-Second Royal Icing and thick royal icing to help prevent the Easter eggs from forming craters. You can see how to use it in the video.)
The Cookie Countess Gel Colors:
AmeriColor Soft Gel Paste Food Colors:
Wilton:
Tools:
- Turkey Lacer
- Wax Paper
- Tape
- Foam board – Foam Board or the back of a cookie sheet to tape your pattern down for piping your Easter Eggs.
- Brown food gel color
- Water
- Paintbrush
- Paper towel
Optional:
Airbrush System and Airbrush Colors:
(just in case you want to airbrush your cute little Easter Egg cookie decorations I thought I’d share the colors I used. It really makes the Easter Eggs pop!)
The Cookie Countess Airbrush Colors:
How to Make Colorful Easter Egg Cookie Decorations Video:
I really enjoyed splattering the cookies with the food gel color, but don’t do as I did. Be sure to wear gloves so you don’t have a brown finger for several days. Just saying, that’s part isn’t much fun.
How to Make Colorful Easter Egg Cookie Decorations:
- Begin by printing the Easter egg patterns and taping them to a piece of foam board that you’ve cut a little larger than your paper pattern.
- I encourage you to buy a couple of pieces of foam board because it’s inexpensive and fairly easy to cut and they’re great to use for royal icing transfers.
- Tape the patterns on the foam board and cut and tape a piece of wax paper that’s a little bigger than the pattern and you’ll be ready to decorate.
- Once you’ve taped your pattern and the wax paper to the foam board you’re ready to decorate these cute little eggs.
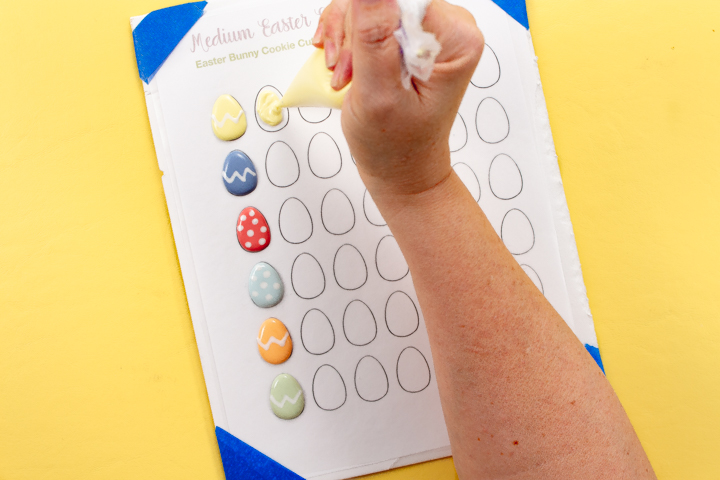
- Once you’ve piped the icing, use a turkey lacer to spread it into place. The thicker 20-Second icing is a good choice for these because the icing will stay in place better than thinner icing.
- The egg isn’t that full and doesn’t have the dome shape that makes it look like an egg because the icing fell flat.
- To make the eggs look a little better add a few dots of the thick royal icing randomly in the wet icing and top it off with some of the 20-Second royal icings.
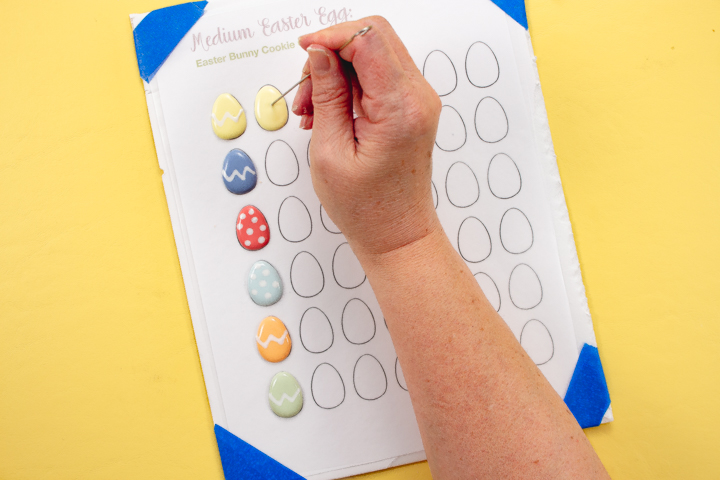
- Use the turkey lacer to smooth it out and to pop the air bubbles.
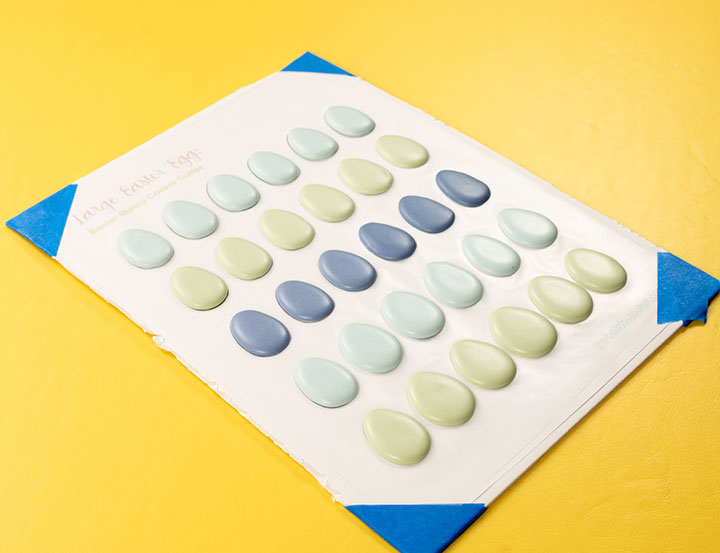
- Can you see how these eggs have a nice roundish shape? Look at the next to the last egg in the darker blue row because it looks like I didn’t use the thick icing so it fell a little flat. If you’ve ever suffered from craters in your icing and you want your eggs to look a little fuller you need to fill them up with the thicker icing. You can see what a simple process this is if you watch the video.
- Let the royal icing dry completely.
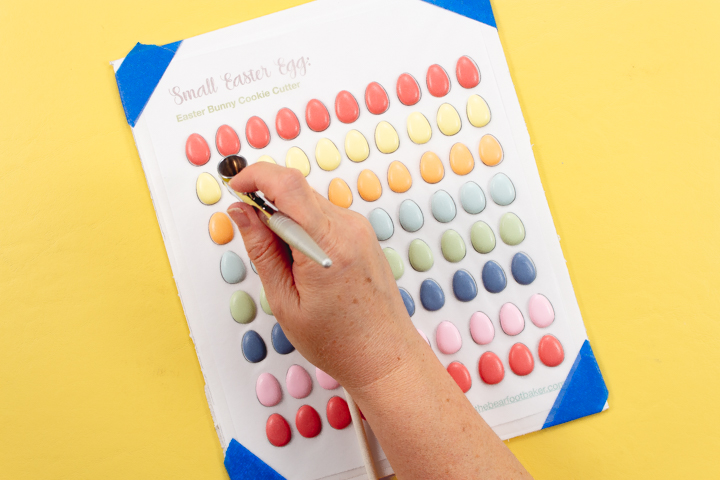
- Next, airbrush your cute little eggs because it will give them a little color and add some dimension.
- Let the airbrush color dry for about 20 minutes before you move on to the next step.
Are you ready for the really fun part? I hope so because we’re about to add the splatter. Just do me a favor and wear some gloves or you’ll have the same brown finger I had for a few days. Yes, I’m totally talking about the crazy things I’ve done and the colorful hands I have most days. When I see colorful hands it tells me someone loves their job and has a lot of fun every day. 😉
- Normally, I use two separate containers or dishes for food gel colors and water, but hey, today I feel feisty.
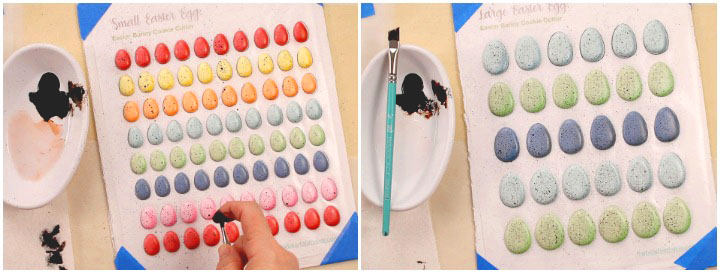
- All you need is brown food gel color, water, a paper towel, and a paintbrush because this technique is that simple. Oh yeah, you might want to cover your work surface so everything doesn’t get speckled.
- Dip the paintbrush into the water and touch it to the paper towel to remove some of it because this process doesn’t take much water at all.
- Next, dip the paintbrush into the brown food gel color and touch it to the side of the bowl so your dots won’t end up being big blotches.
- Hold the paintbrush above the eggs.
- Place your finger at the bottom of the paintbrush and pul up across the bristles so it’ll splatter the paint on the eggs.
- Be patient and go slow so you don’t end up with huge splatters instead of cute splatters.
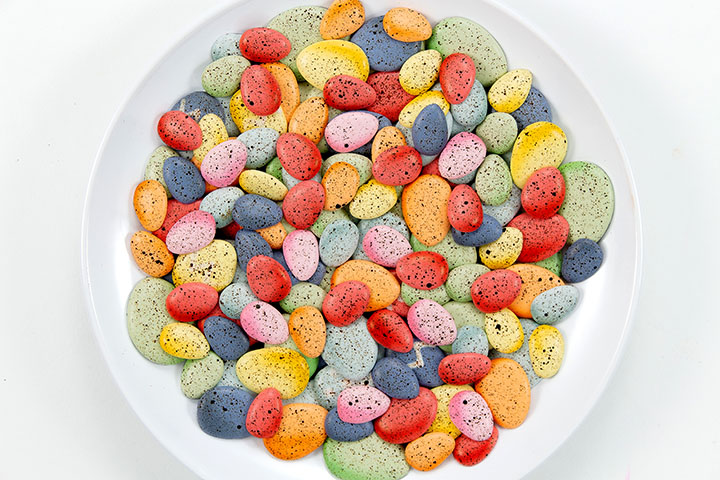
- Splatter as much as you want and then let the splatters dry completely before you store them.
Isn’t it amazing how you can use your extras royal icing to make cookie decorations to have on hand? It’s a wonderful way to stock up so you’ll be prepared to make cookies whenever you’re ready.
Stay tuned because I have more cookie decorating patterns on the way. I also have a cute surprise I’ll be sharing with you soon because it’s a great project for these eggs. I’ll be sharing it soon!
Bear hugs,

