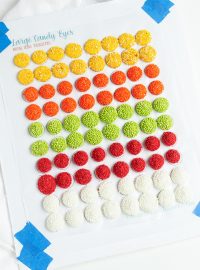
How to Make Six Sizes of Olivia Owl Eye Royal Icing Transfers
I hope you’re in the mood for some FREE owl eye royal icing transfer patterns because I have six sizes for you today. They’re named “Olivia Owl Eye Royal Icing Transfers,” but you don’t have to use them on owl cookies only. You can use them on so many different kinds of cookies. I made them for an owl cookie cutter I’m going to share in my Etsy Shop this week. I’m sure you’ll see a lot of eyes here in the future because there are so many animal cookies and they all need eyes. Right?
What I love about these patterns is there are six different sizes so you should be able to find the size you need for your cookies. And they are all FREE! Download them all now or come back when you need them. They’ll be waiting for you.
Supply List:
(may contain affiliate links)
FREE Olivia Owl Eye Royal Icing Transfer Patterns:
- 2″ Mini Owl Eye Royal Icing Transfers | The Bearfoot Baker
- 2.5″ Extra Small 2.5 Inch Owl Royal Icing Transfers | The Bearfoot Baker
- 3″ Small Owl Eye Royal Icing Transfers | The Bearfoot Baker
- 3.5″ Medium Owl Eye Royal Icing Transfers | The Bearfoot Baker
- 4″ Large Owl Eyes Royal Icing Transfers | The Bearfoot Baker
- 5″ Extra Large Owl Eyes Royal Icing Transfers | The Bearfoot Baker
Recipes:
Tools:
- Tipless Piping Bags
- Turkey Lacer or Thingamagenie Decorating Tool
- Super Clear Cello Bags 5″ x 7″
- Masking Tape
- Fan to dry
How to Make Six Sizes of Olivia Owl Eye Royal Icing Transfers Video:
Enjoy the video!
Let’s make some eyes!
Before we begin let’s prepare our pattern for the royal icing transfers. You’ll only need a few things to make all these outrageously awesome owl eyes.
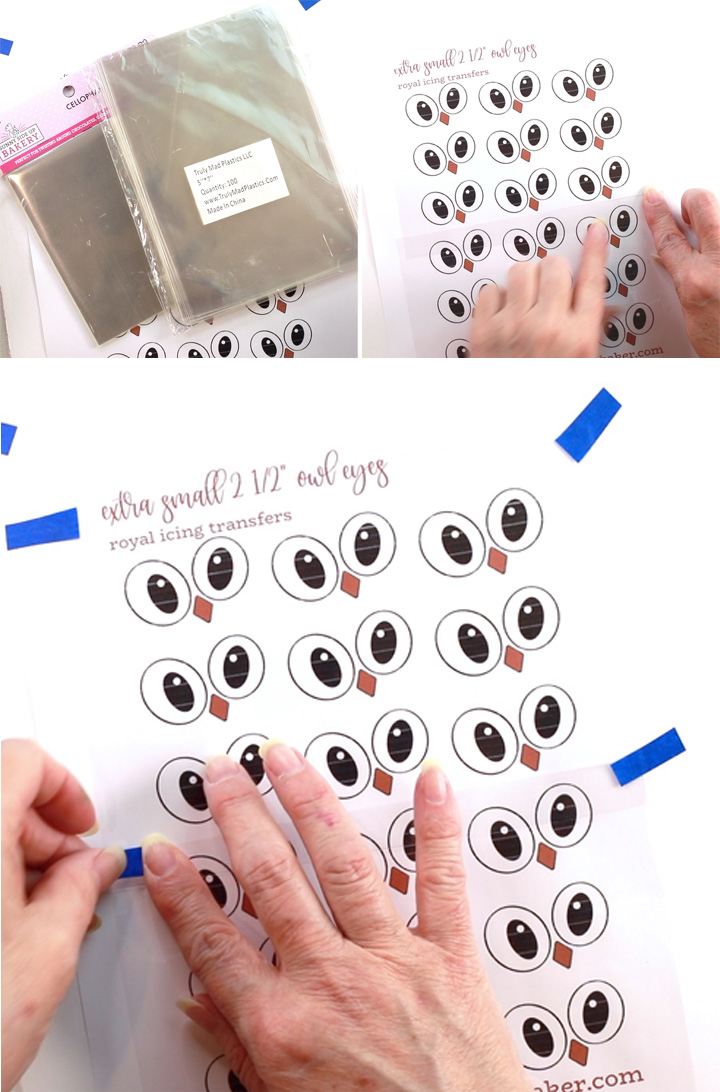
- First, you’ll need to print the patterns that are listed under the supply list.
- Next, you’ll need to get a surface to attach the patterns to while you pipe the eyes. You’ll need something that you can move around and won’t bend when you lift it. I like using foam boards from The Dollar Tree. You can see a tutorial on how I cut them here- Simple Lemon Royal Icing Transfers post. It’s simple and easy to store the boards.
- Once you have your foam board cut, tape the patterns to the surface.
- Then you’ll need a surface for piping the royal icing. I love using Cello Bags from Truly Mad Plastics. Cut the bags at the seam so you’ll have two pieces from each bag.
- Next, tape them over the eye patterns. Be careful and make sure the edges aren’t on half of the eye. Tape the piece on top over the entire eye so you don’t break it when you try to remove the royal icing transfer from the cello bags. You can see how to do this in the video above.
- Also, after you use the cello bags you can wash them and reuse them for more royal icing transfers.
Let the piping begin!
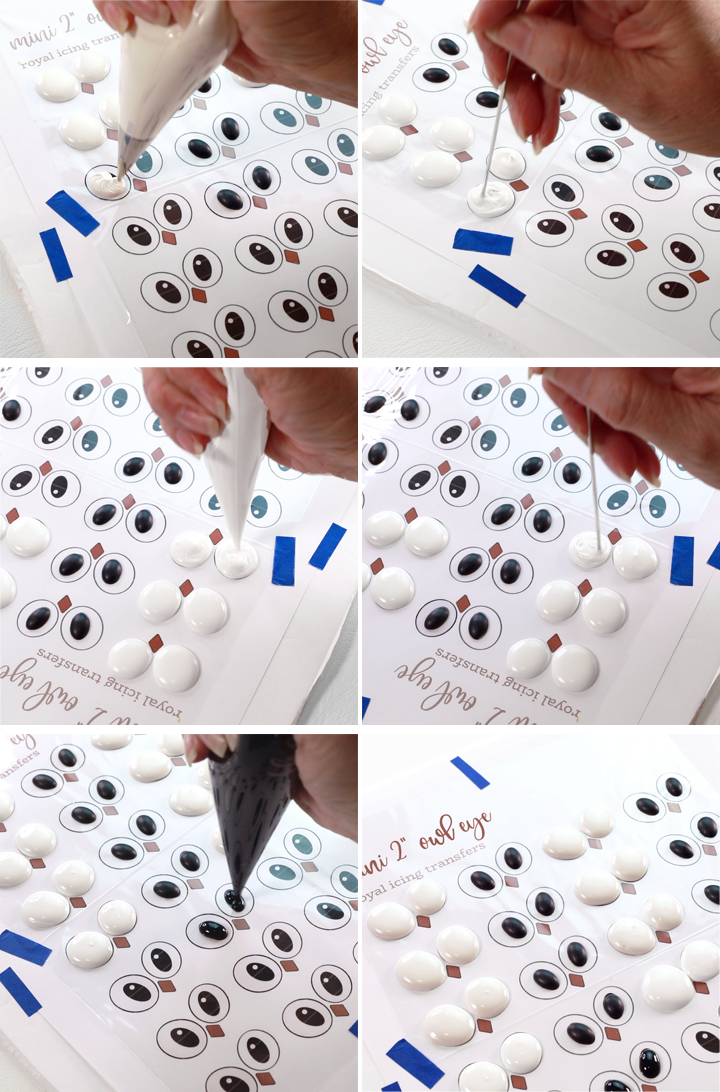
- I used an outline and flood consistency of white royal icing for the eyes. I wanted them to look a little fuller than just a flood consistency. Also, the humidity here is off the chart so a thicker consistency worked well for these.
- Use the outline consistency royal icing to pipe the white part of the eyes
- Once I finished with the outline consistency I added a little flood consistency so the tops would be nice and smooth when they dried. It worked well.
- If you’ll notice, I skipped a set of eyes so I could make the black pupils. This helps you have the white and black parts of the eyes without having to let the icing dry overnight before you pipe the pupils.
- Once you’ve piped all the eyes you can place them in front of a fan until they dry. I usually leave mine overnight.
Remove them from the cello bags.
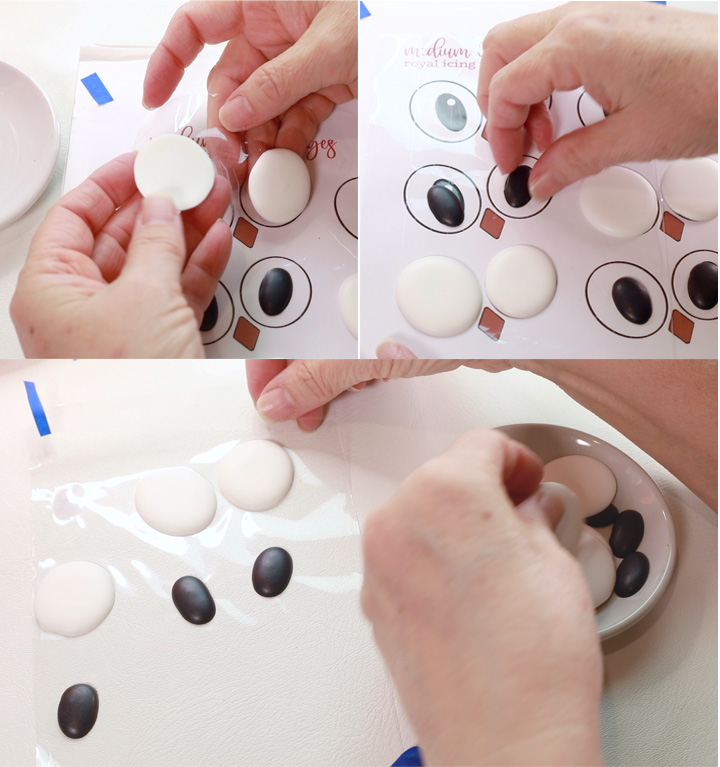
- It’s time to remove them from the cello bags.
- Remove the tape and carefully lift them off the bags.
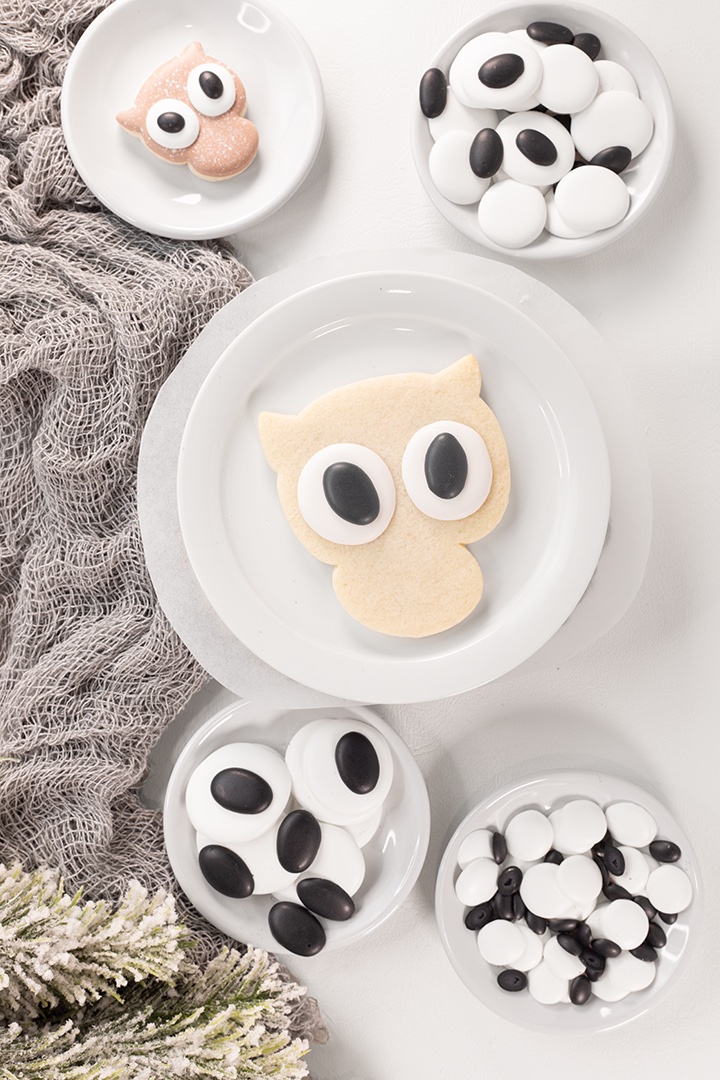
I made each size so I placed them in a dish according to size. Then, I placed them in little containers labeled with the sizes. This will make it easier to use when I need them. I’m not guessing the sizes because the containers are labeled. It makes life so much easier when things are in order.
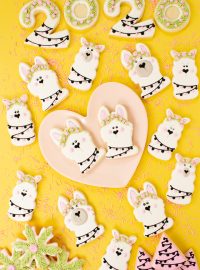
The Olivia Owl Cookie Cutter will be in the Etsy Shop this week. I’m making a tutorial for them now so stay tuned.
Here is a preview of Olivia and stay tuned. I’ll post her tutorial soon and there will be a few giveaways for ya’ll. Stay tuned and enjoy all those eyes!
Bear hugs,

