How to Make Happy Renee Reindeer Cookies
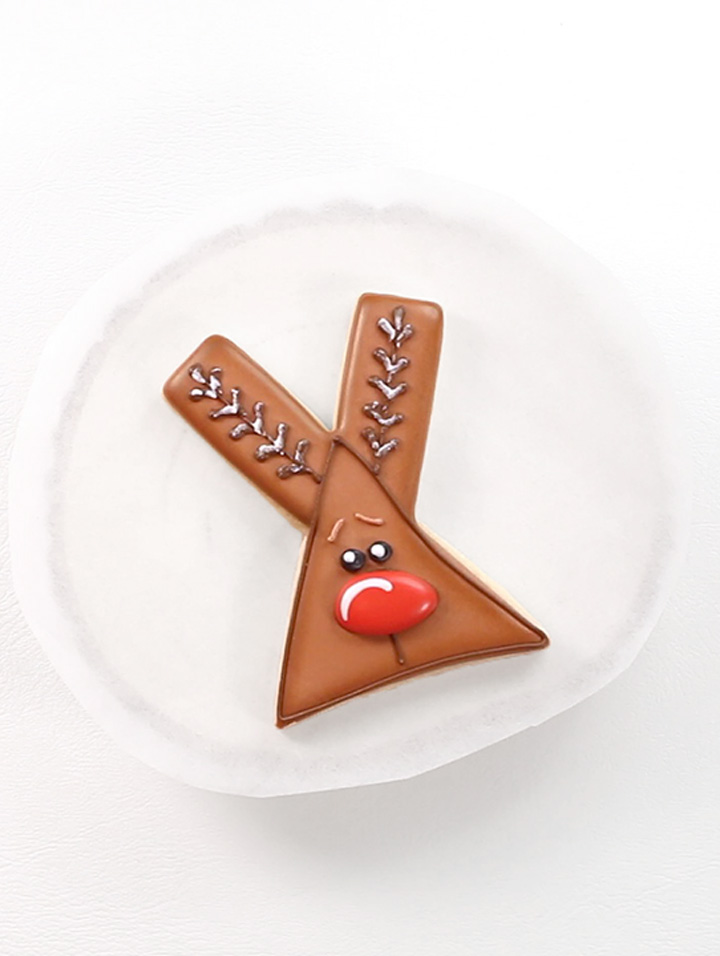
Are you ready for Christmas? Do you have your Christmas tree decorated yet? I’m ready to decorate mine, but I haven’t started yet. However, I have designed and decorated some Christmas cookies to get me ready for the holiday season. Reindeer cookies make me super happy so I thought we’d start the season with a few reindeer tutorials. Let’s start with a Renee reindeer cookie. She’s simple and cute and the kids will have fun making her look happy or not so happy.
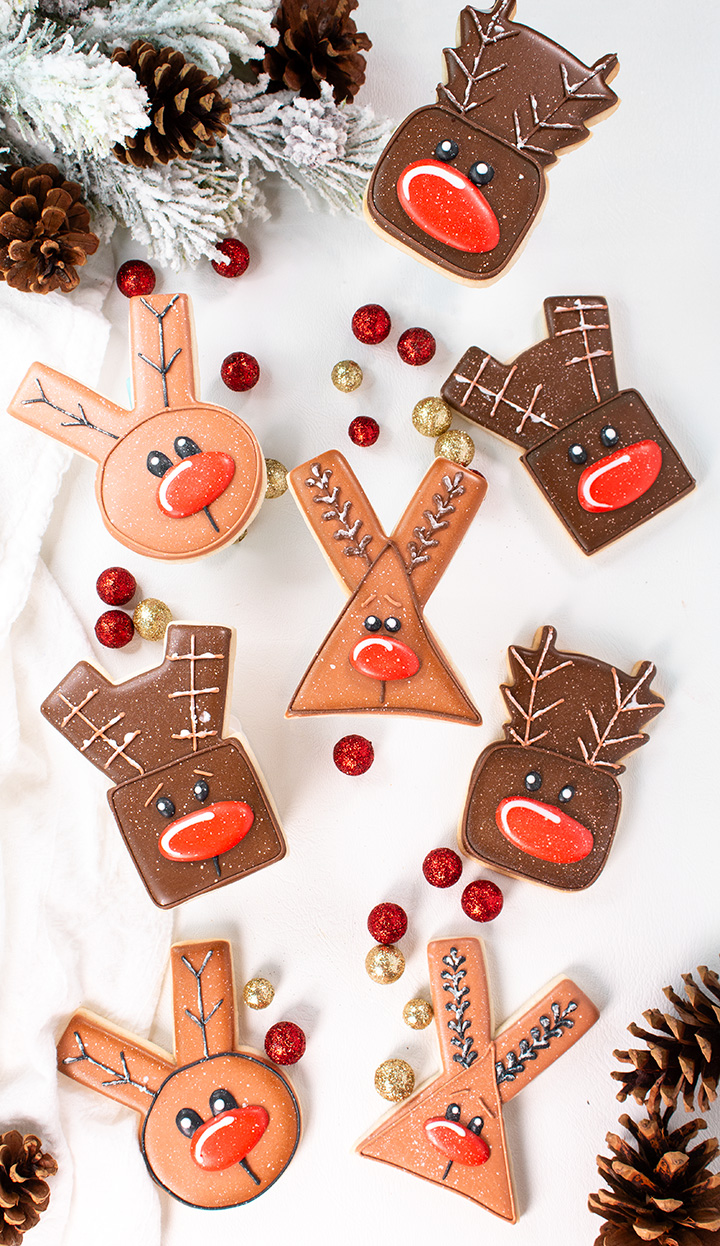
Can you guess which one she is? Scroll down and you’ll find her.
Supply List:
(may contain affiliate links)
Recipes:
Cookie Cutter
Royal Icing Colors:
- Warm Brown- AmeriColor
- Chocolate Brown- AmeriColor
- Tulip Red- AmeriColor
- Bright White- AmeriColor
- Super Black- AmeriColor
Airbrush Supplies:
Tools:
- Turkey Lacer
- Tipless Piping Bags
- Paintbrush – Regular food-safe paintbrush and a fan brush.
- White food gel for the snow splatter.
Decorating Tips:
- If you like using decorating tips for fine details and outlines I highly recommend PME Tips. They’re stainless steel and they last forever. I used a PME 1.5″ Tip is what I used to make Renee Reindeer. Another favorite tip for everyday decorating is a PME #2 Tip, but don’t feel like you have to use them just because I do. Tipless piping bags weren’t a thing when I started decorating so I’m not 100% used to using them. Do whatever makes you happy and comfortable.
How to Make Happy Renee Reindeer Cookies Video:
Enjoy the video!
Let’s make Renee happy!
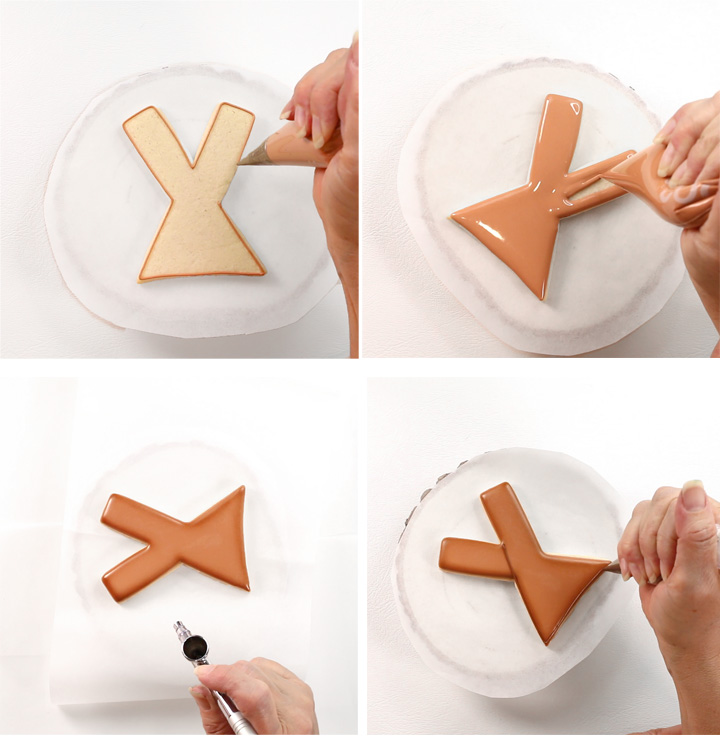
- Begin by outlining and flooding the reindeer cookie with the warm brown royal icing.
- Let it dry until the top of the icing forms a crust.
- You don’t have to airbrush your Renee Reindeer Cookie but if you choose to add a little pick an edible brown airbrush color that will go with your icing color. I used The Cookie Countess Airbrush System and her Totally Brown Edible Airbrush Color and it worked out well.
- Once you airbrush the edges of the cookie, pipe a chocolate brown triangle around the head of Renee.
She needs some antlers and a big red nose:
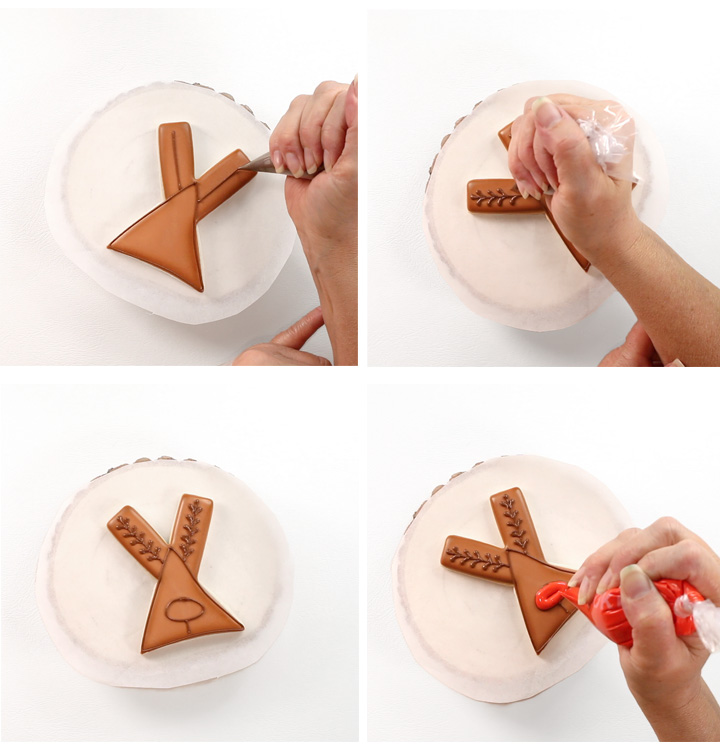
- Let’s add a few more details. Pipe a line where you want the antlers and then add the hearts. You can see how this is done in the video above.
- Outline the nose and the mouth with the chocolate brown royal icing.
- Flood the nose with the red royal icing.
We can’t forget the eyes and I think we need to add a little snow:
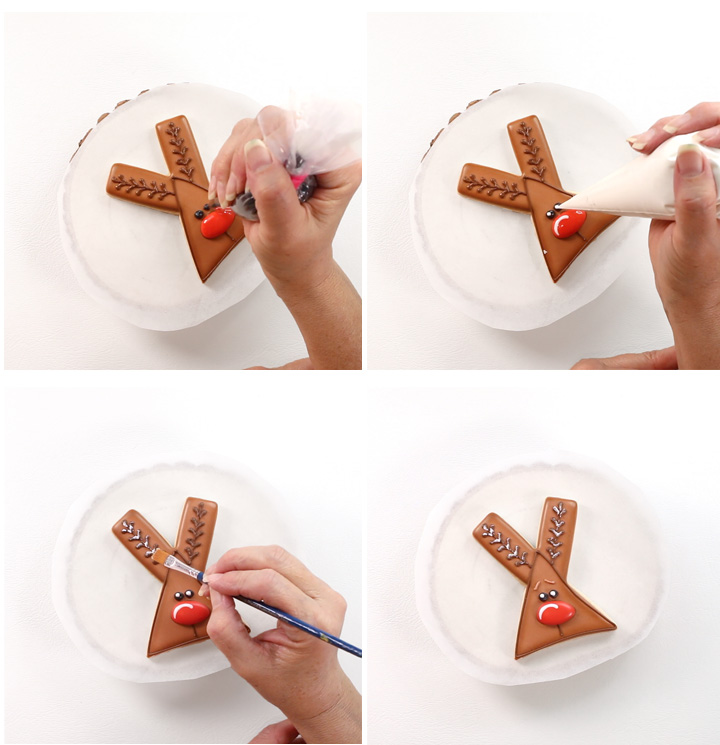
- Pipe the eyes with the black royal icing.
- Add a white line on the nose and dot each eye.
- Pipe two eyebrows above the eyes with the warm brown royal icing.
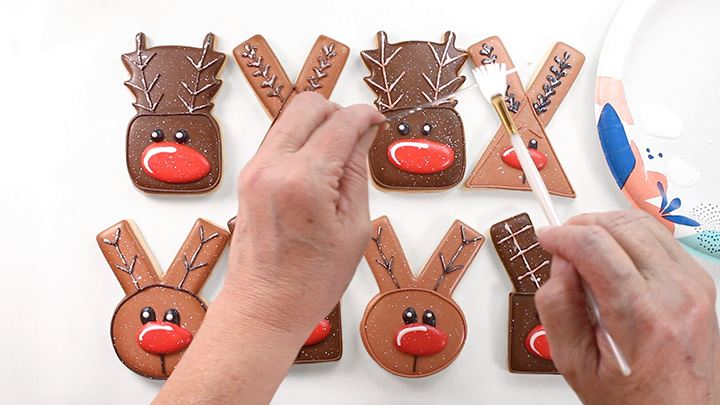
- Pipe a little white royal icing on a dry food-safe paintbrush and paint it on the antlers once the antler icing is completely dry.
Add a little more snow:
- Before we go we need to finish these cookies. I think a simple little snow splatter sprinkle will make them look as if they’re ready for the Christmas season.
- Mix a little water with some white food gel color.
- Use a fan brush and a turkey lacer or scribe tool to flick the food gel on the reindeer cookies. The video will show you how simple it is and I think you’ll love the snow splatter.
Look at all these deer cookies:
So you’ve met Renee Reindeer and I hope you’re ready to meet the rest of these guys. I’m working on the tutorial for each of them so be prepared to see Ralph, Rex, and Rudolph because they’re tutorials are coming soon.
Bear hugs,

