Free Flower Nail Template
When I was about 14 years old my aunt Trudy bought me my first set of decorating supplies for Christmas. I was thrilled. The first thing I wanted to do is make beautiful buttercream icing flowers. The only problem with that was I didn’t have a clue as to where to start. You see, that was way back before the internet and cake decorating classes. The only way someone learned things like that was if someone taught them or if they sat for hours and hours and practiced until they figured it out.
I didn’t figure it out. I sat for hours looking at the tips wondering how in the world I would end up making incredible flowers like my aunt. Then, one day years later, I found a flower nail template. It was great. With the help of the flower nail template, and many hours of practice, I could finally make pretty buttercream flowers.
A few weeks ago I was making plans for royal icing transfers and realized I only had one flower template. Traditional buttercream icing flowers aren’t the type of flowers I would have considered a royal icing transfer but, when you think about it, aren’t they royal icing transfers? I think they are the original royal icing transfers and I want to celebrate them. I want to make a video and show a step by step tutorial for each flower but, before I can do that, we need to talk about the flower nail template.
Free Flower Nail Template and Supply List:
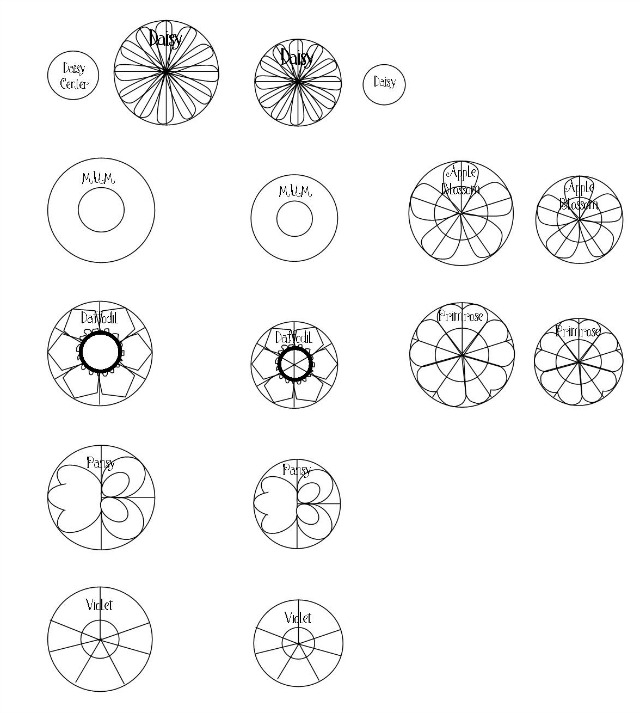
Flower Nail Template
Old School Flower Nail Template
Scissors
Double Sided Tape
Self-Seal Laminating Paper
If you notice, there are two different templates under the Supply List. I don’t want to talk about those right now. I will explain in a minute why there are two.
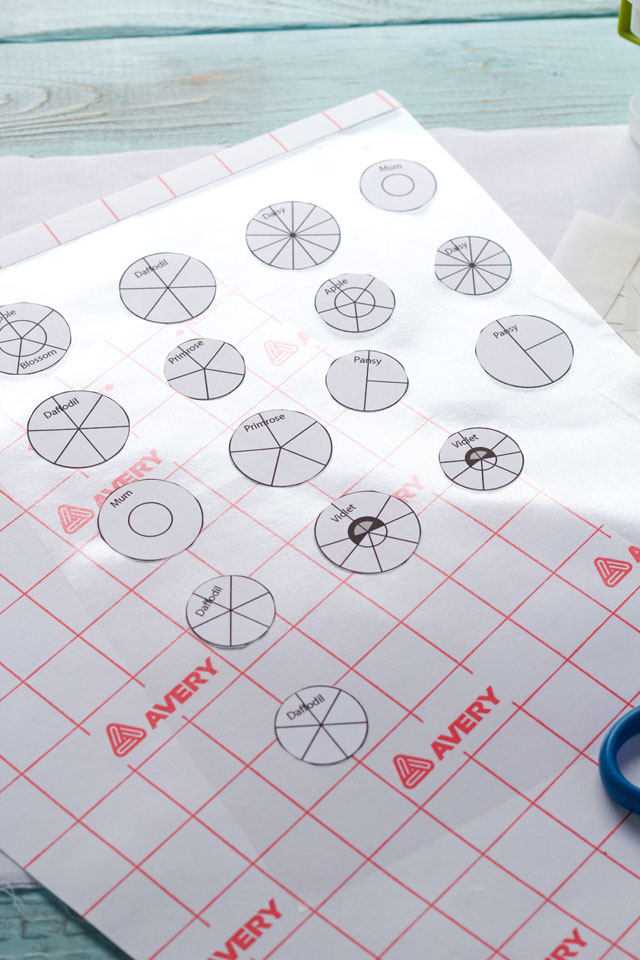
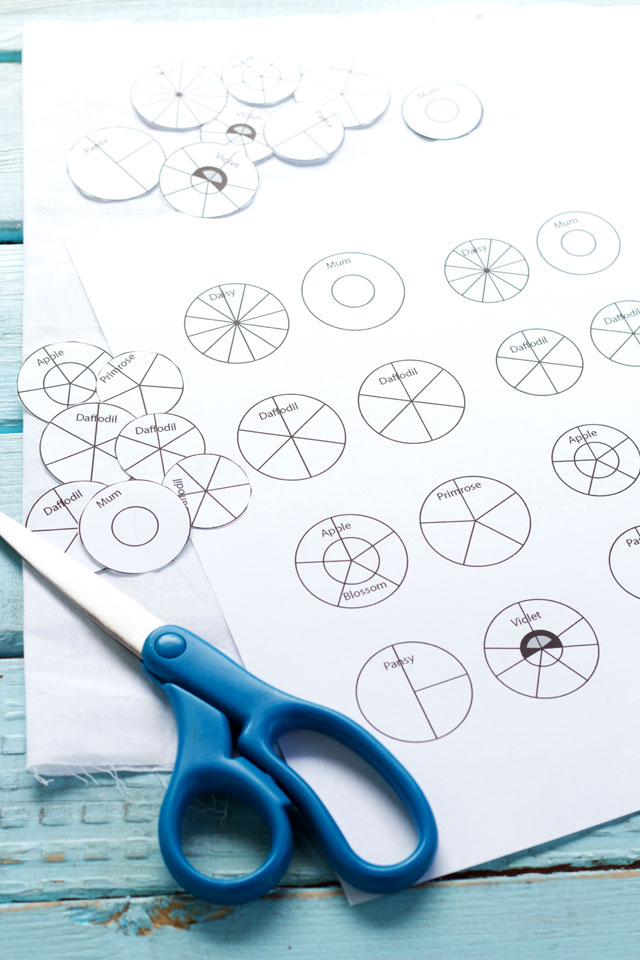
Then, place them on the sticky side of one of the laminating sheets. I know what you are thinking, the laminating sheets aren’t food safe. Well, you are right. They aren’t food safe but, they will not touch the icing so it is alright.
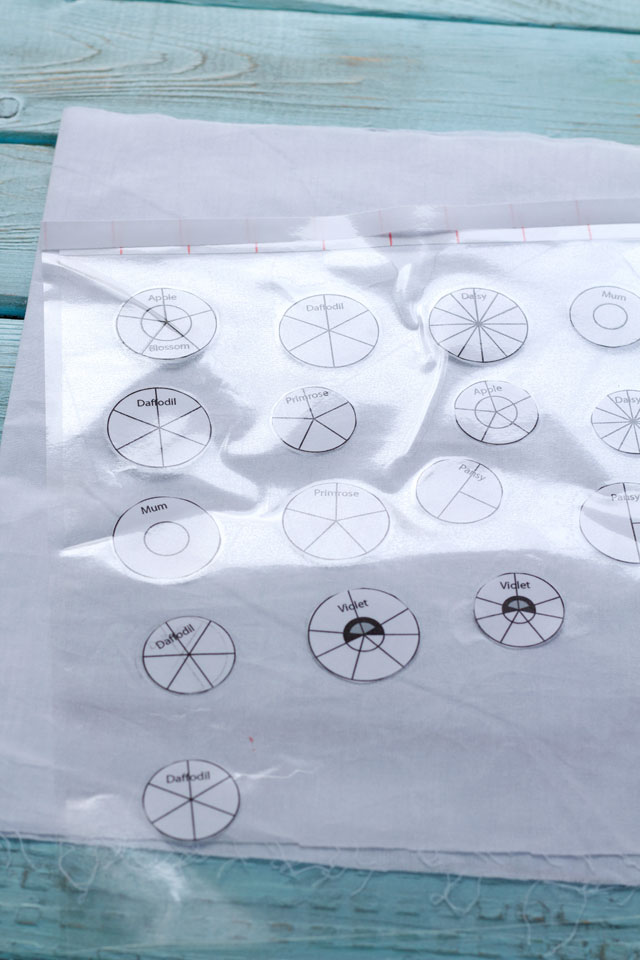
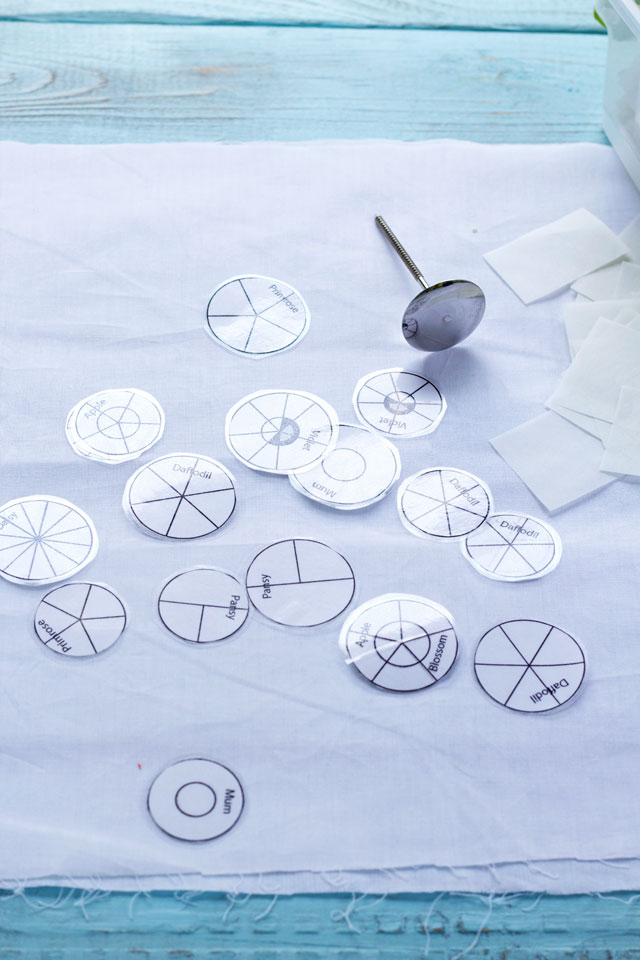
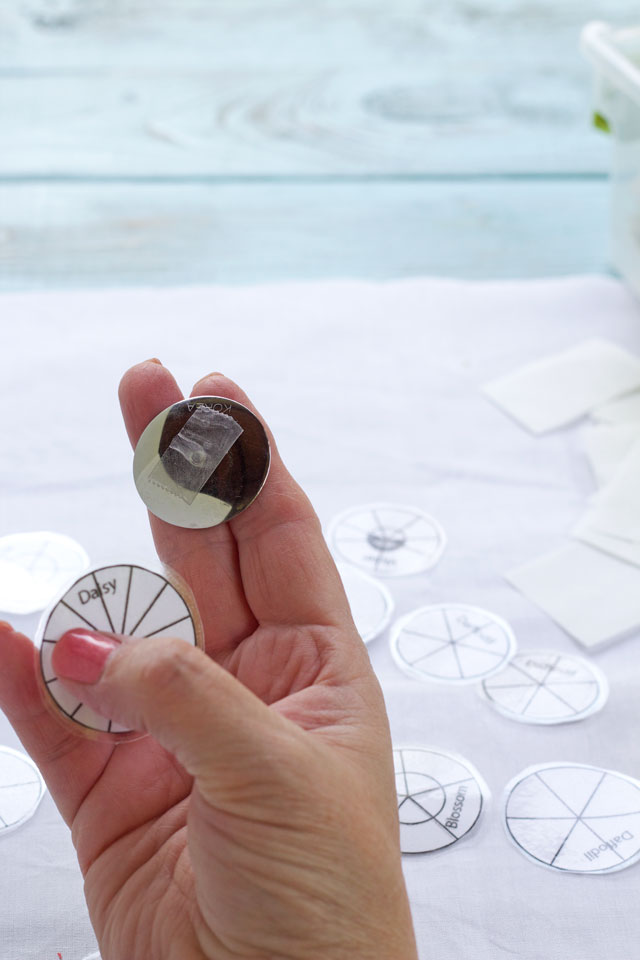
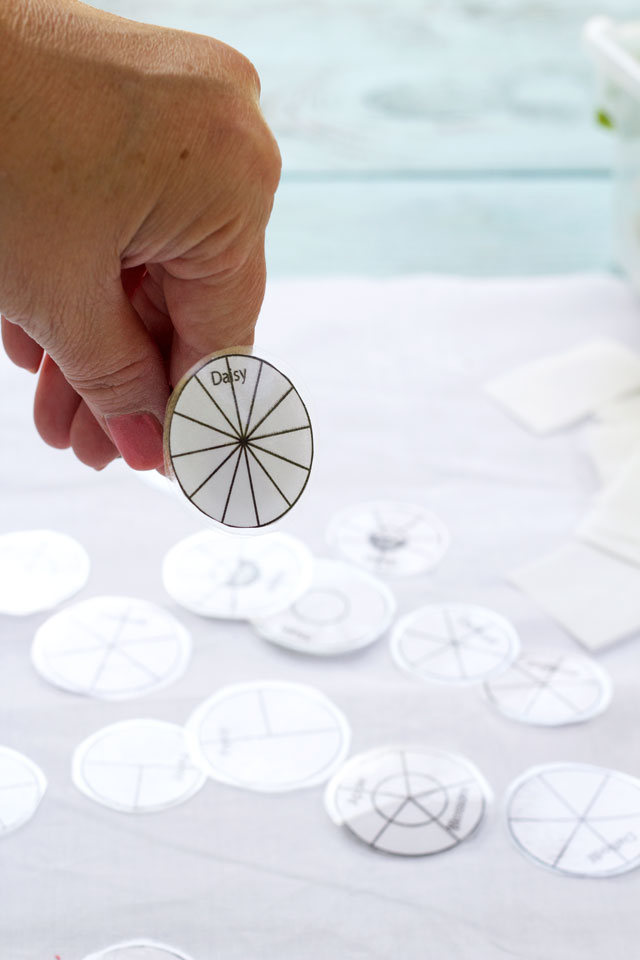
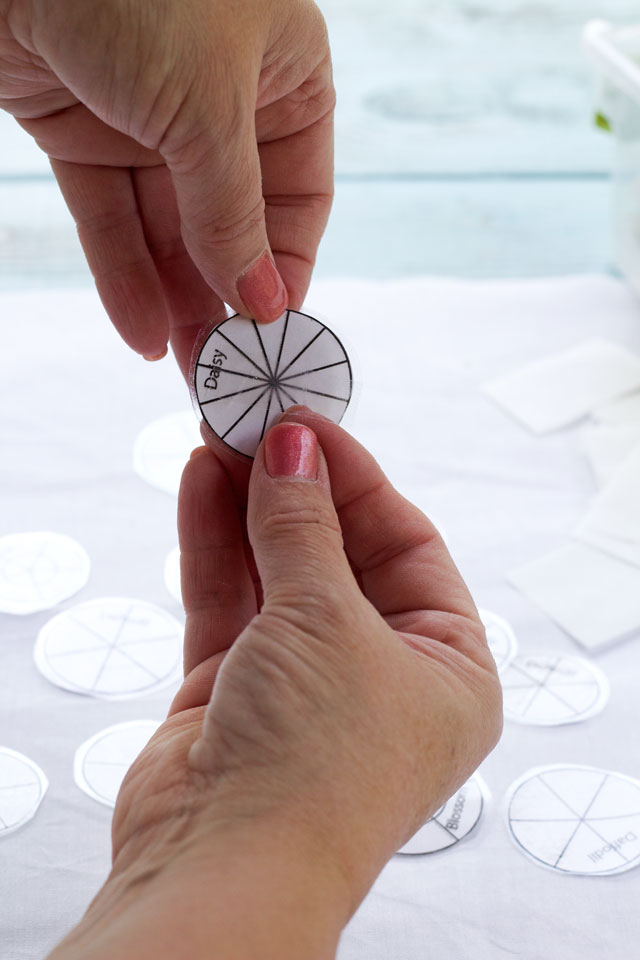
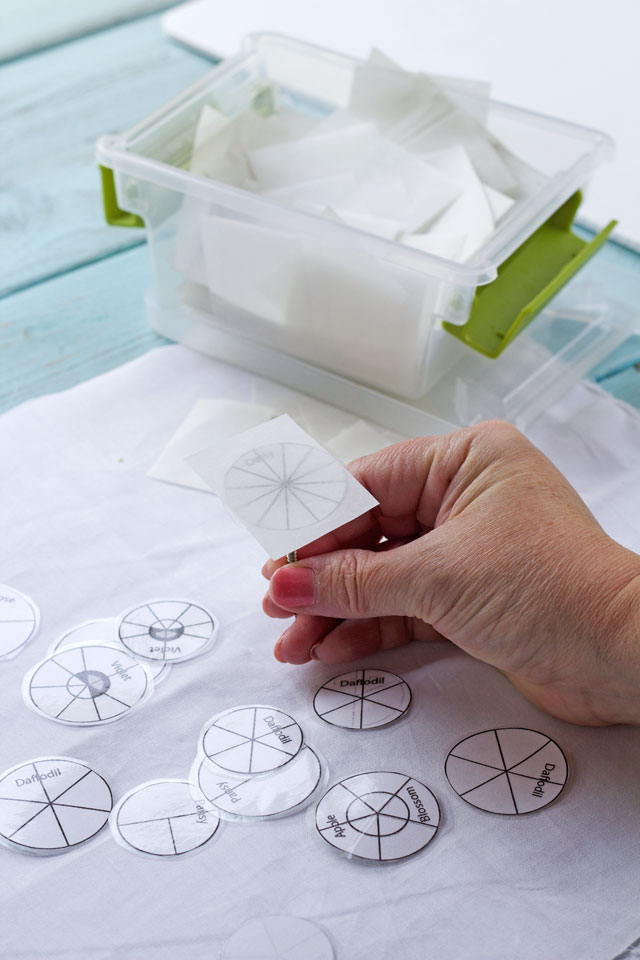
Now let’s talk about the two different templates. You can print either one or both if you would like. Feel free to resize them if you want.
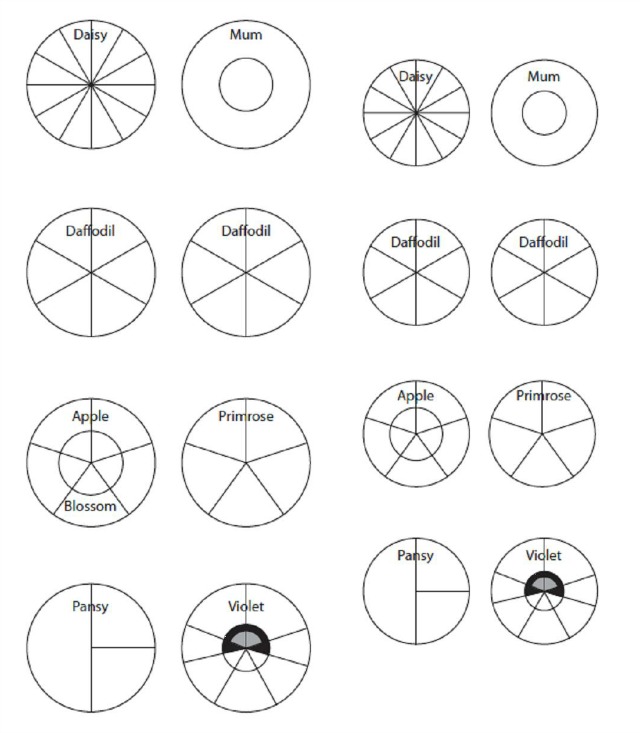
This template is based off of the original flower nail template that Wilton has and it is the one I used in the videos for these flower. As I made the flowers, I found myself looking at the template and trying to remember what the flower looked like. You see, I have thyroid brain and I don’t seem to remember anything anymore. I even stopped to Google a daffodil flower to see what it looked like. It was at that moment that I tweaked the template a bit.
This is the template I will use from now on. It kind of has a cheat sheet built in. You may like it, you may prefer the old school version. Either way, you don’t have to run to the store if you need a flower nail template. All you have to do is print one of these.
More Royal Icing Flowers:
Icing Daisy Tutorial with Video
Edible Apple Blossom
Icing Pansy Decorations
Royal Icing Daffodils
Royal Icing Primroses
Bear hugs,





Thanks for this – now I need you to do all the flowers! Because I have no idea how to do them!
This is brilliant – but like Vicky I don’t have a clue either 🙂
I just may learn to make flowers yet!
This is just wonderful Lisa – you know I would always call my mom and have her try and help me over the phone with my flowers, and I never could figure out what she was telling me to do. Now with these templates I’ll have my very own cheat sheet. Plus I have a round paper punch so I’ll get started punching right away! Thanks so much!
Thank you for these! I love your site and all of your tutorials!! Very helpful for a newbie like me: )
Thank you for sharing so much information and knowledge. This is brilliant and I learn best by seeing do the videos are so appreciated. I can’t wait to try some royal icing transfers.
Thank you for all your insight. I’m new to your site and love it.
Thank you so much for sharing your time savers and tutorials!
You are very welcome! 😉
BRILLIANT!!! You are a clever baker!!!
Is there an option to get the 100 Animal Cookies as an ebook? The link wasn’t working for me. I searched the book using other avenues but, wouldn’t arrive in time to have my cookies ready?